slide1
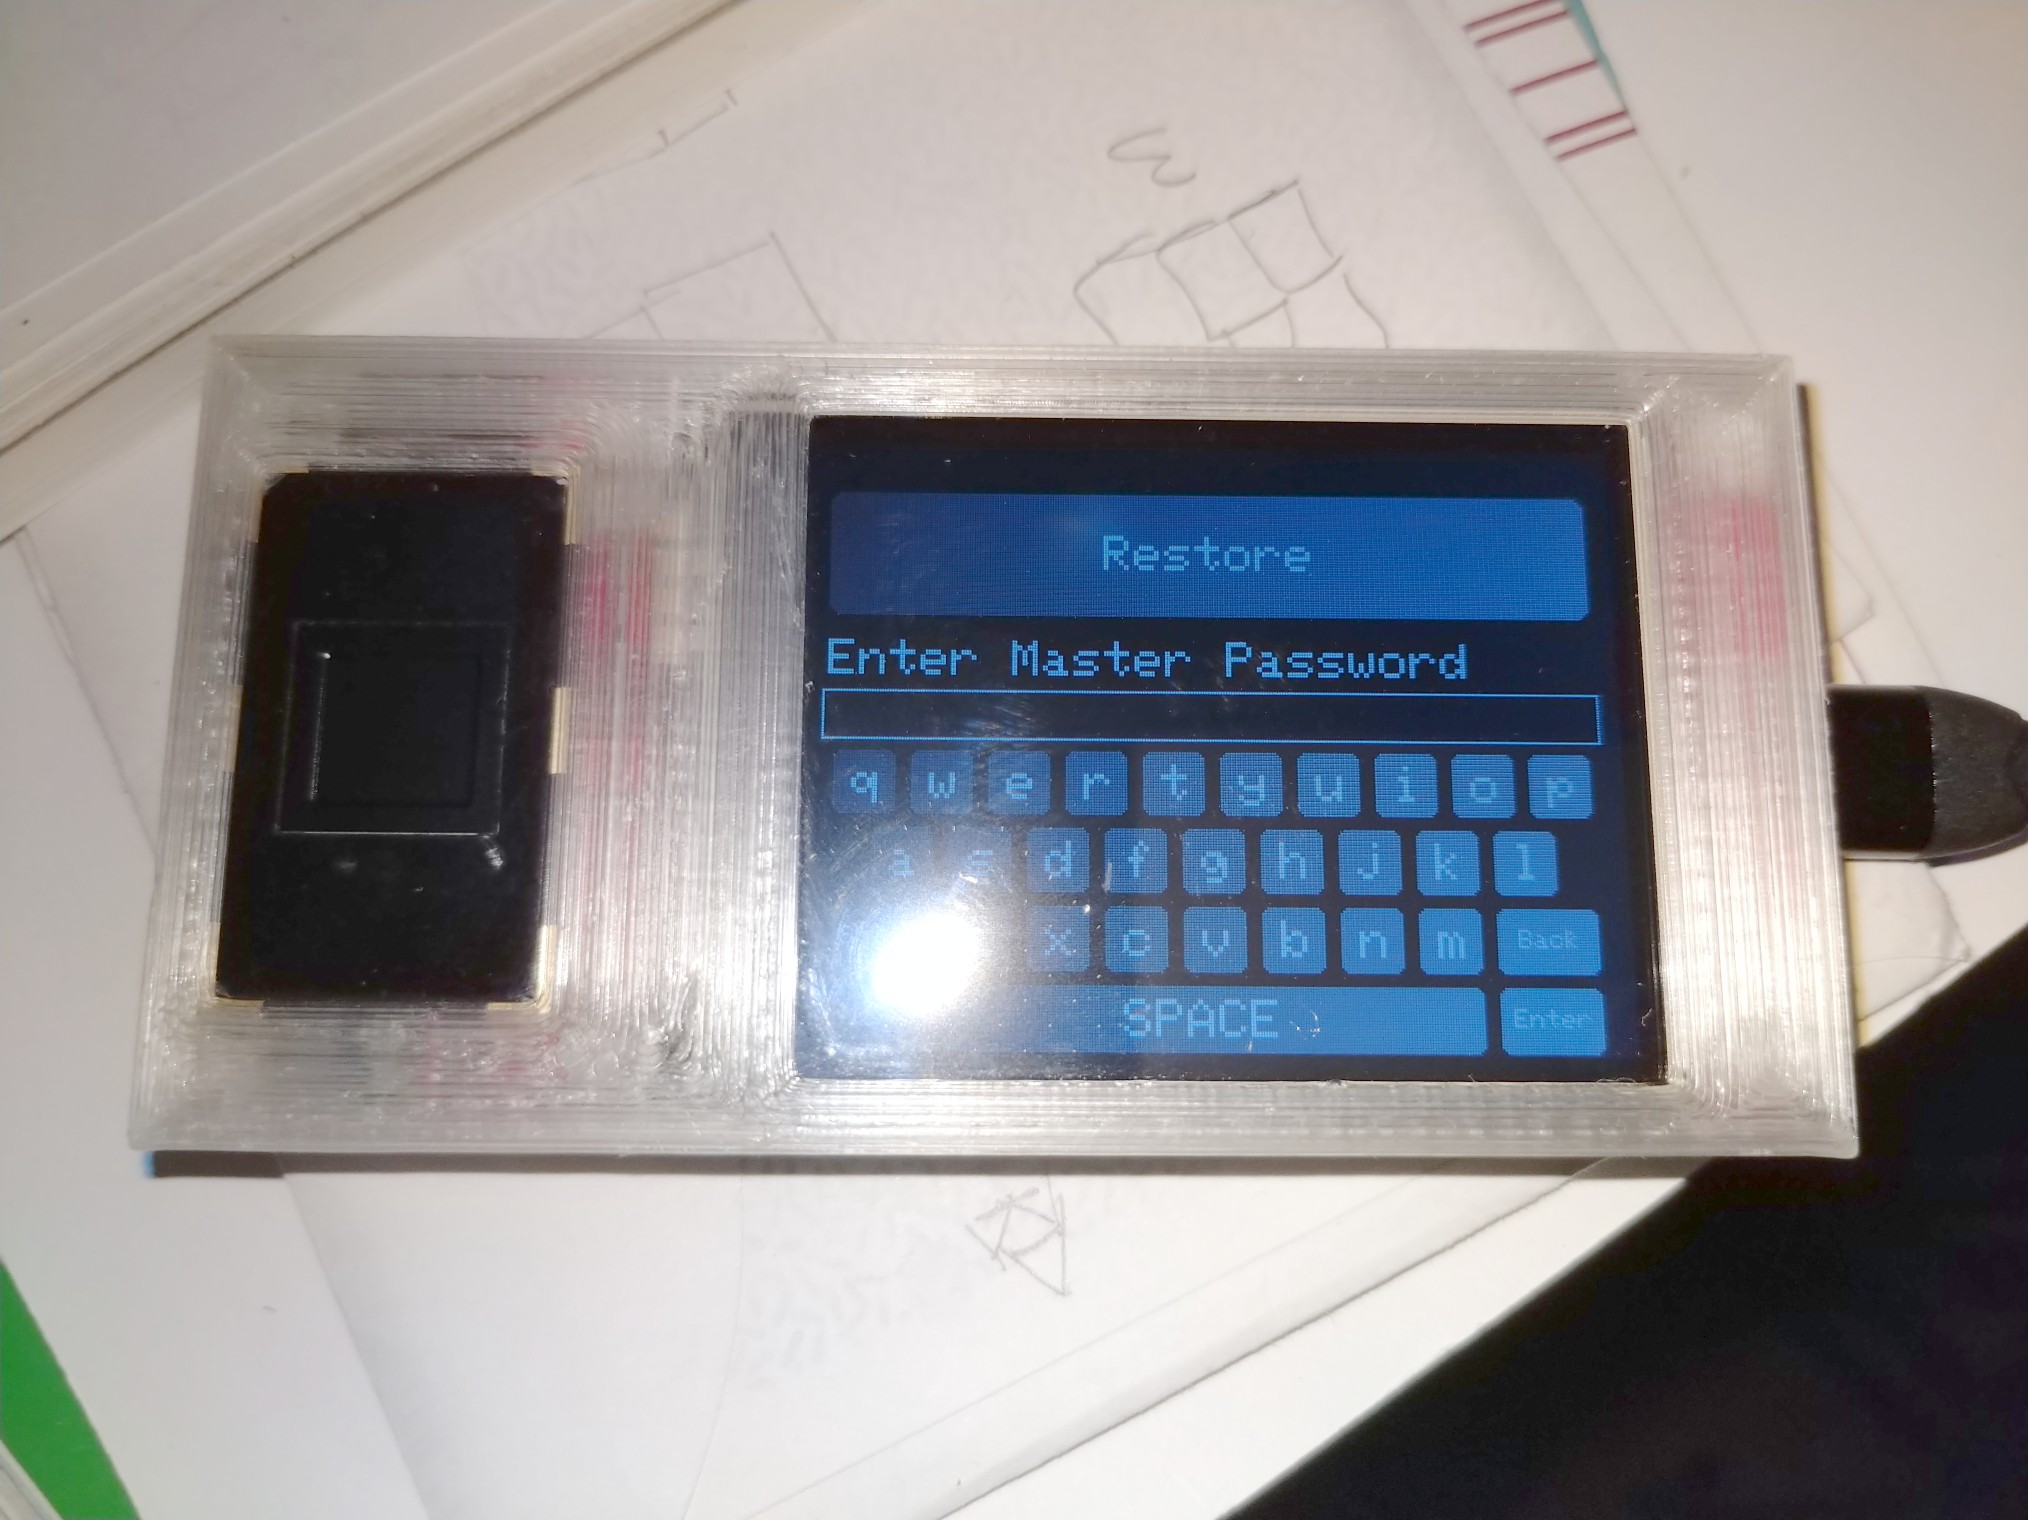
PassPad is secure by design

Security is our main concern.
PassPad is designed in such a way that it cannot be hacked.

pp4
PassPad is easy to use

We made it as simple and easy to use as possible, without compromising on security.

pp
PassPad Simply Works

It can be used stand-alone or with any computer, tablet, smart phone.

PlayPause

Introducing PassPad

The most secure and convenient password storage device


Now available on Indiegogo

PassPad was born out of our own need for a better and safer way to store and work with many passwords.
PassPad is secure by design

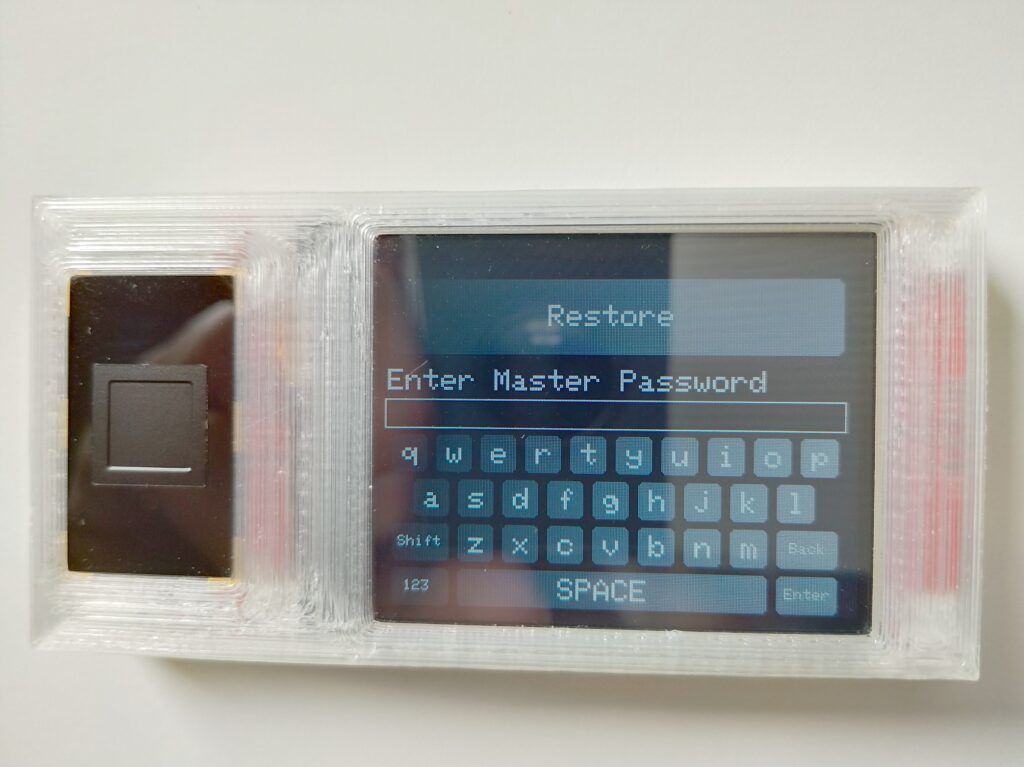
Security is our main concern. PassPad is designed in such a way that it cannot be hacked.
Storing passwords on a computer, phone, or cloud server may be convenient, but they can be hacked.
PassPad does not have any network connectivity, no Bluetooth, no WiFi, and it does not accept any command from its USB port either.
It can only be controlled from its touchscreen, and only after the correct master password has been entered. All data stored is encrypted using that password and very strong encryption.
PassPad is easy to use

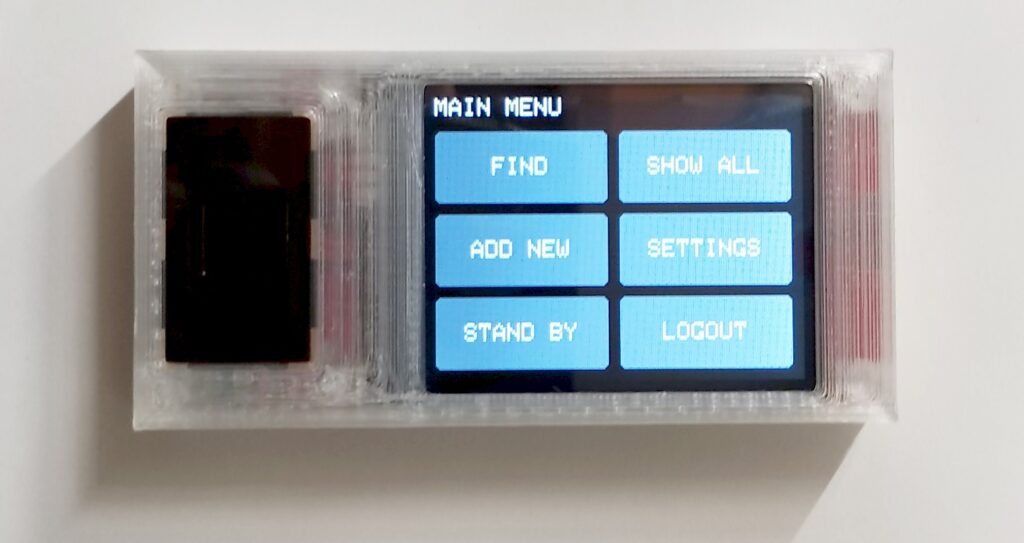
Our goal was to make it as simple and easy to use as possible, without compromising on security.
Every function of the device is accessible within 3 taps and you are free to adjust the balance of security versus convenience as you like.
Your device, your choice.
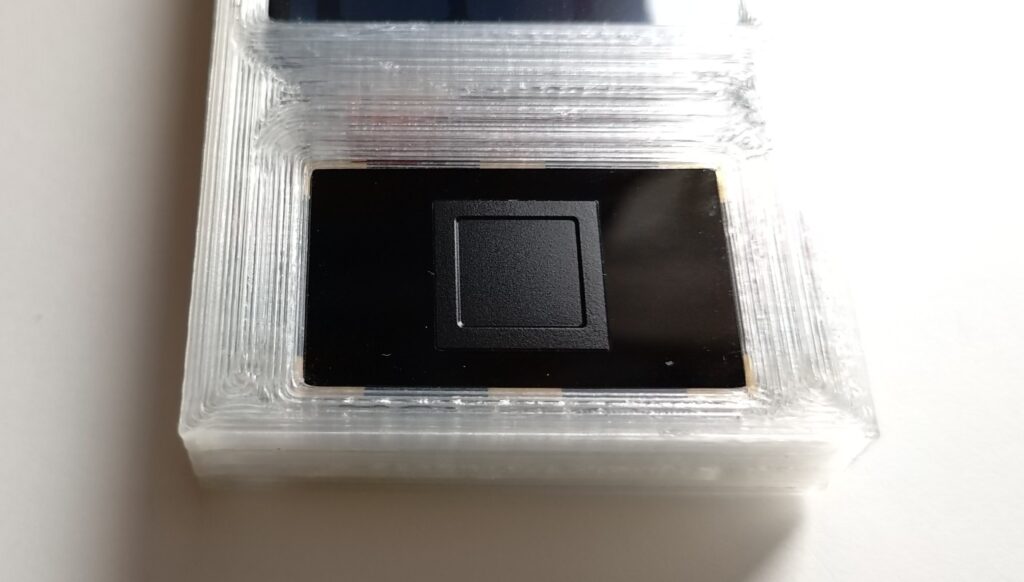
PassPad can scan fingerprints

When the device is left unattended, it can automatically go to sleep mode and lock itself to prevent unauthorized access.
For your convenience, we added a fingerprint scanner allowing its rightful owner to instantly unlock it without having to constantly re-enter the master password.
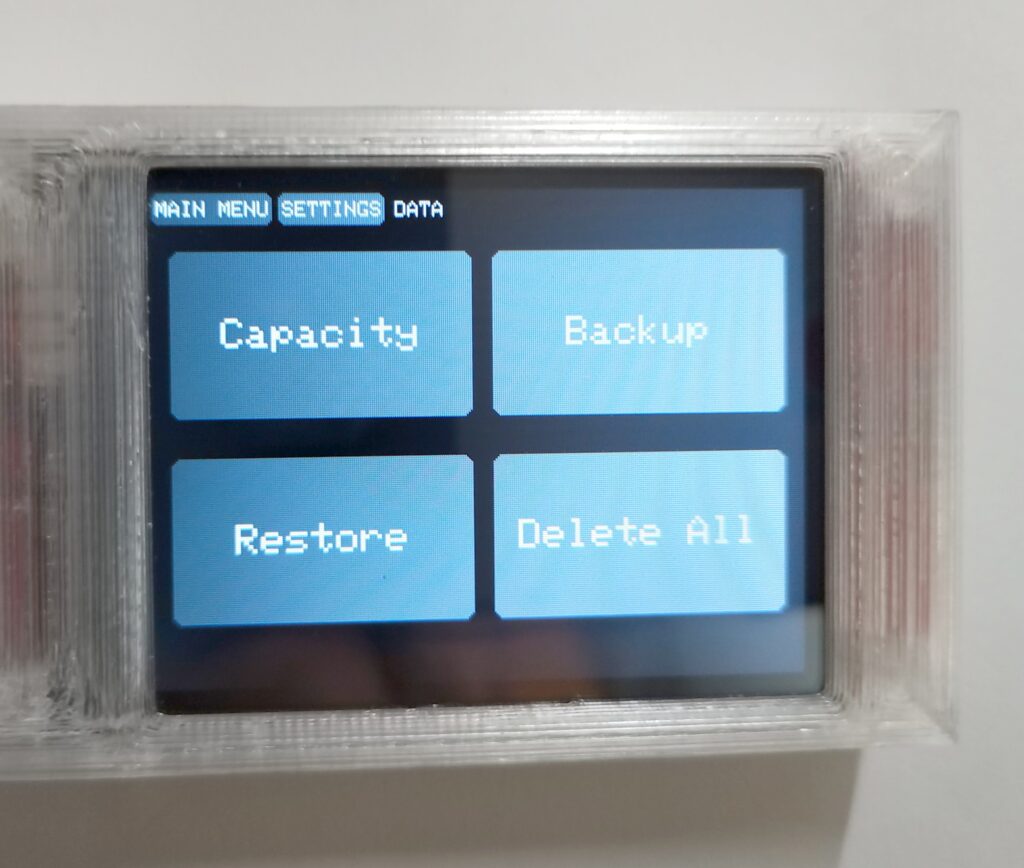
PassPad makes secure backups

All your data can (and should) be backed up in case the device is lost. Keeping a copy of all your passwords on a computer or piece of paper would defeat the purpose so PassPad makes it easy to create and restore backups.
The backups are encrypted with your master password so you can safely keep them on your computer, a flash drive or the cloud.
If you have multiple PassPads you can also use the backup to copy all your passwords from one to the others without having to re-enter anything by hand.
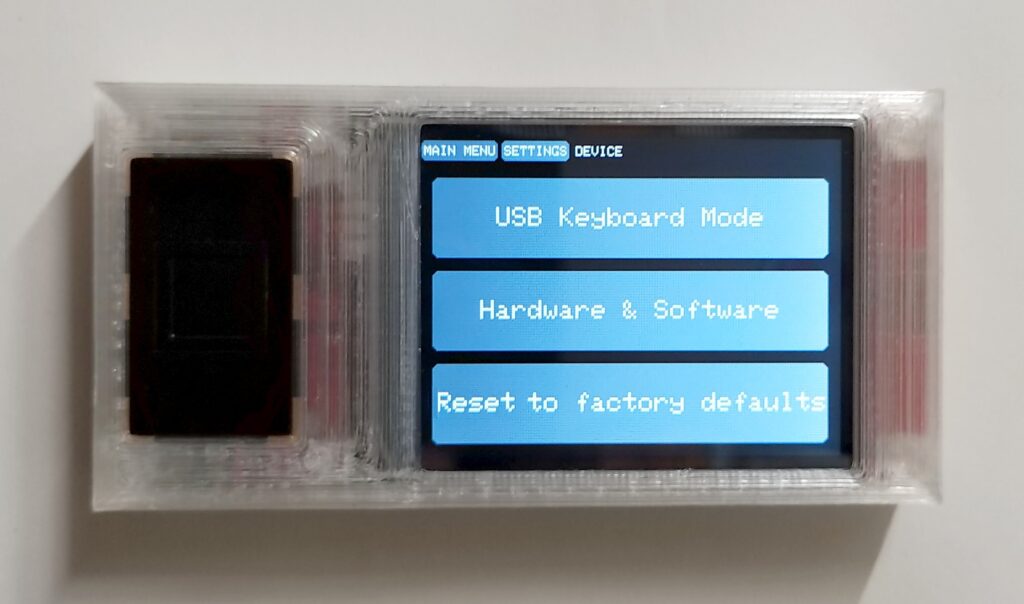
PassPad is ready for the future

PassPad does not require any drivers because it uses the standardized USB Human Interface Device (HID) protocol.
It acts as a regular USB keyboard, making it compatible with any old, current, and future phone or computer.
It also provides a virtual keyboard mode in case a computer has a broken or missing keyboard.
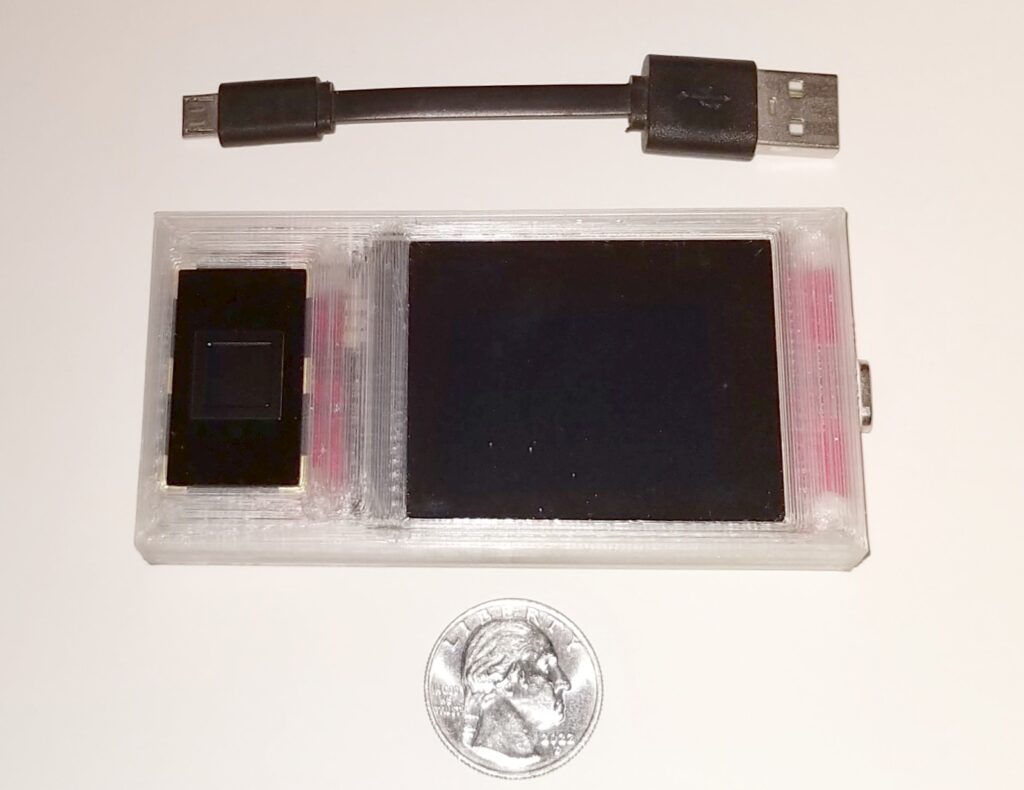
PassPad fits in any pocket

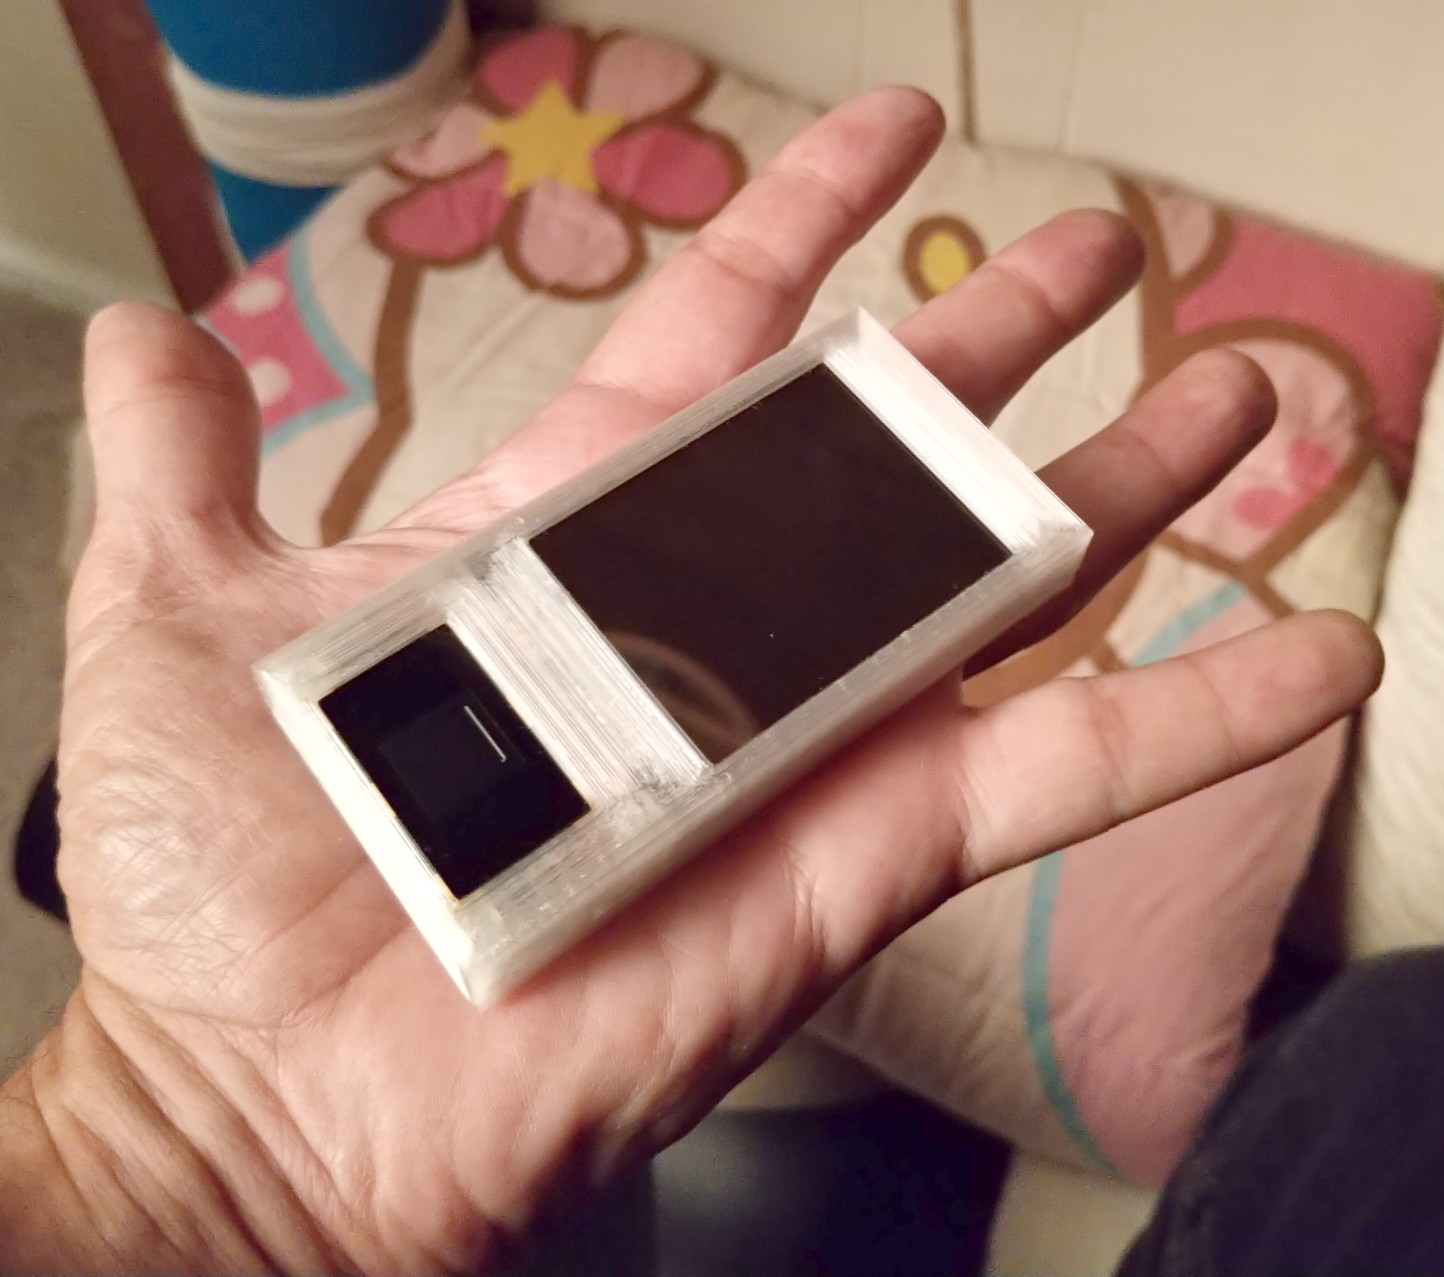
One of our biggest design challenge was to fit everything into the smallest space possible.
We wanted it to be small and light enough to comfortably fit in a shirt pocket and forget it’s there.
The perfect balance between size and function had to be found. Making the device any shorter would have required moving the fingerprint sensor to the back, and using a smaller screen would have made it too difficult to read and type.
In its current form, it is 3.8″ x 1.9″ x 0.6″.
PassPad is essential for IT personnel

How do people in charge of dozens of computer systems keep track of all the passwords?
Unless they are using PassPad, you probably don’t want to know!
We’ve been there too, that’s why we made PassPad.

Typical use cases:

Log into an account on the web

  • Turn PassPad on
  • Enter your master password
  • Tap the FIND button and type a few letters matching the account name, e.g. “vi” or “we” to match “VI webmail” or
  • Select the matching entry
  • Connect the PassPad USB cable to your phone or computer
  • In the browser, go to the login page, and select the username input field
  • On PassPad, tap the SEND USER button
  • If needed, in the browser, select the password input field
  • On PassPad, tap the SEND PASS button
  • You’re logged in!


Log into a Linux server (local or ssh)

  • Turn PassPad on
  • Enter your master password
  • Tap the FIND button and type a few letters matching the account name, e.g. “acm” or “serv” to match “ACME server”
  • Select the matching entry
  • Connect the PassPad USB cable to your computer or server
  • If using SSH, open a session to the server
  • On PassPad, tap the SEND USER button
  • On PassPad, tap the SEND PASS button
  • You’re logged in!

The Making of PassPad

Slide
Venice inventors logo
First Prototype

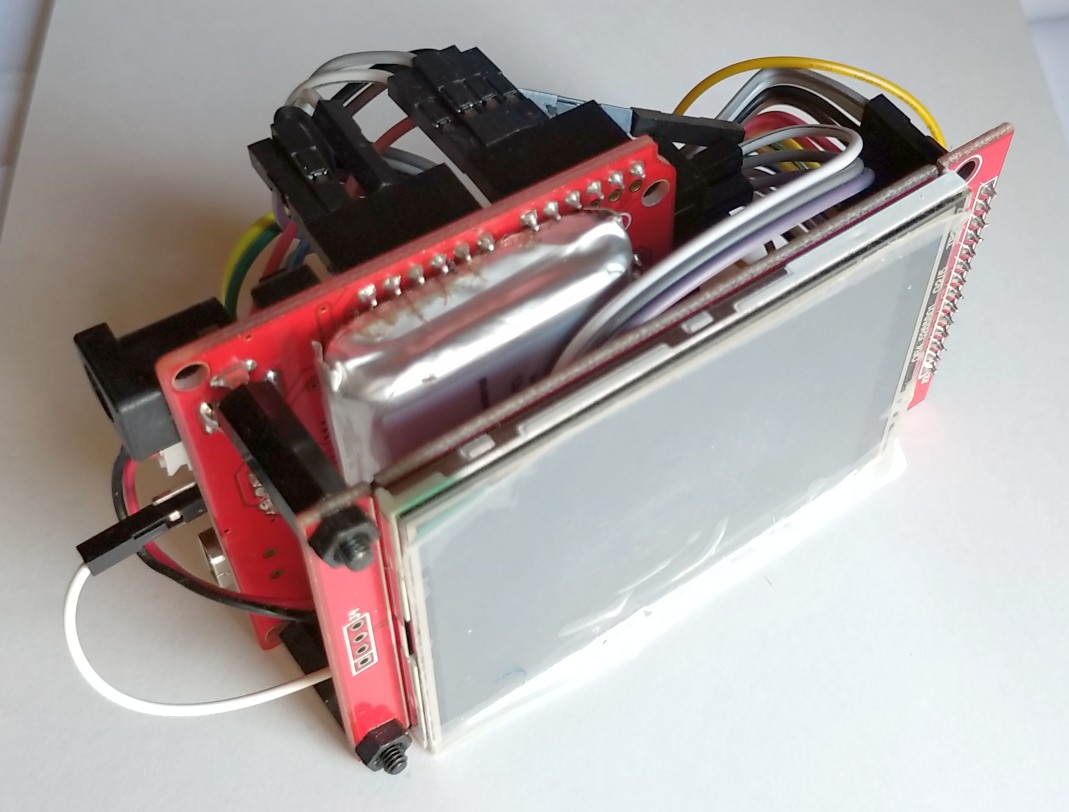
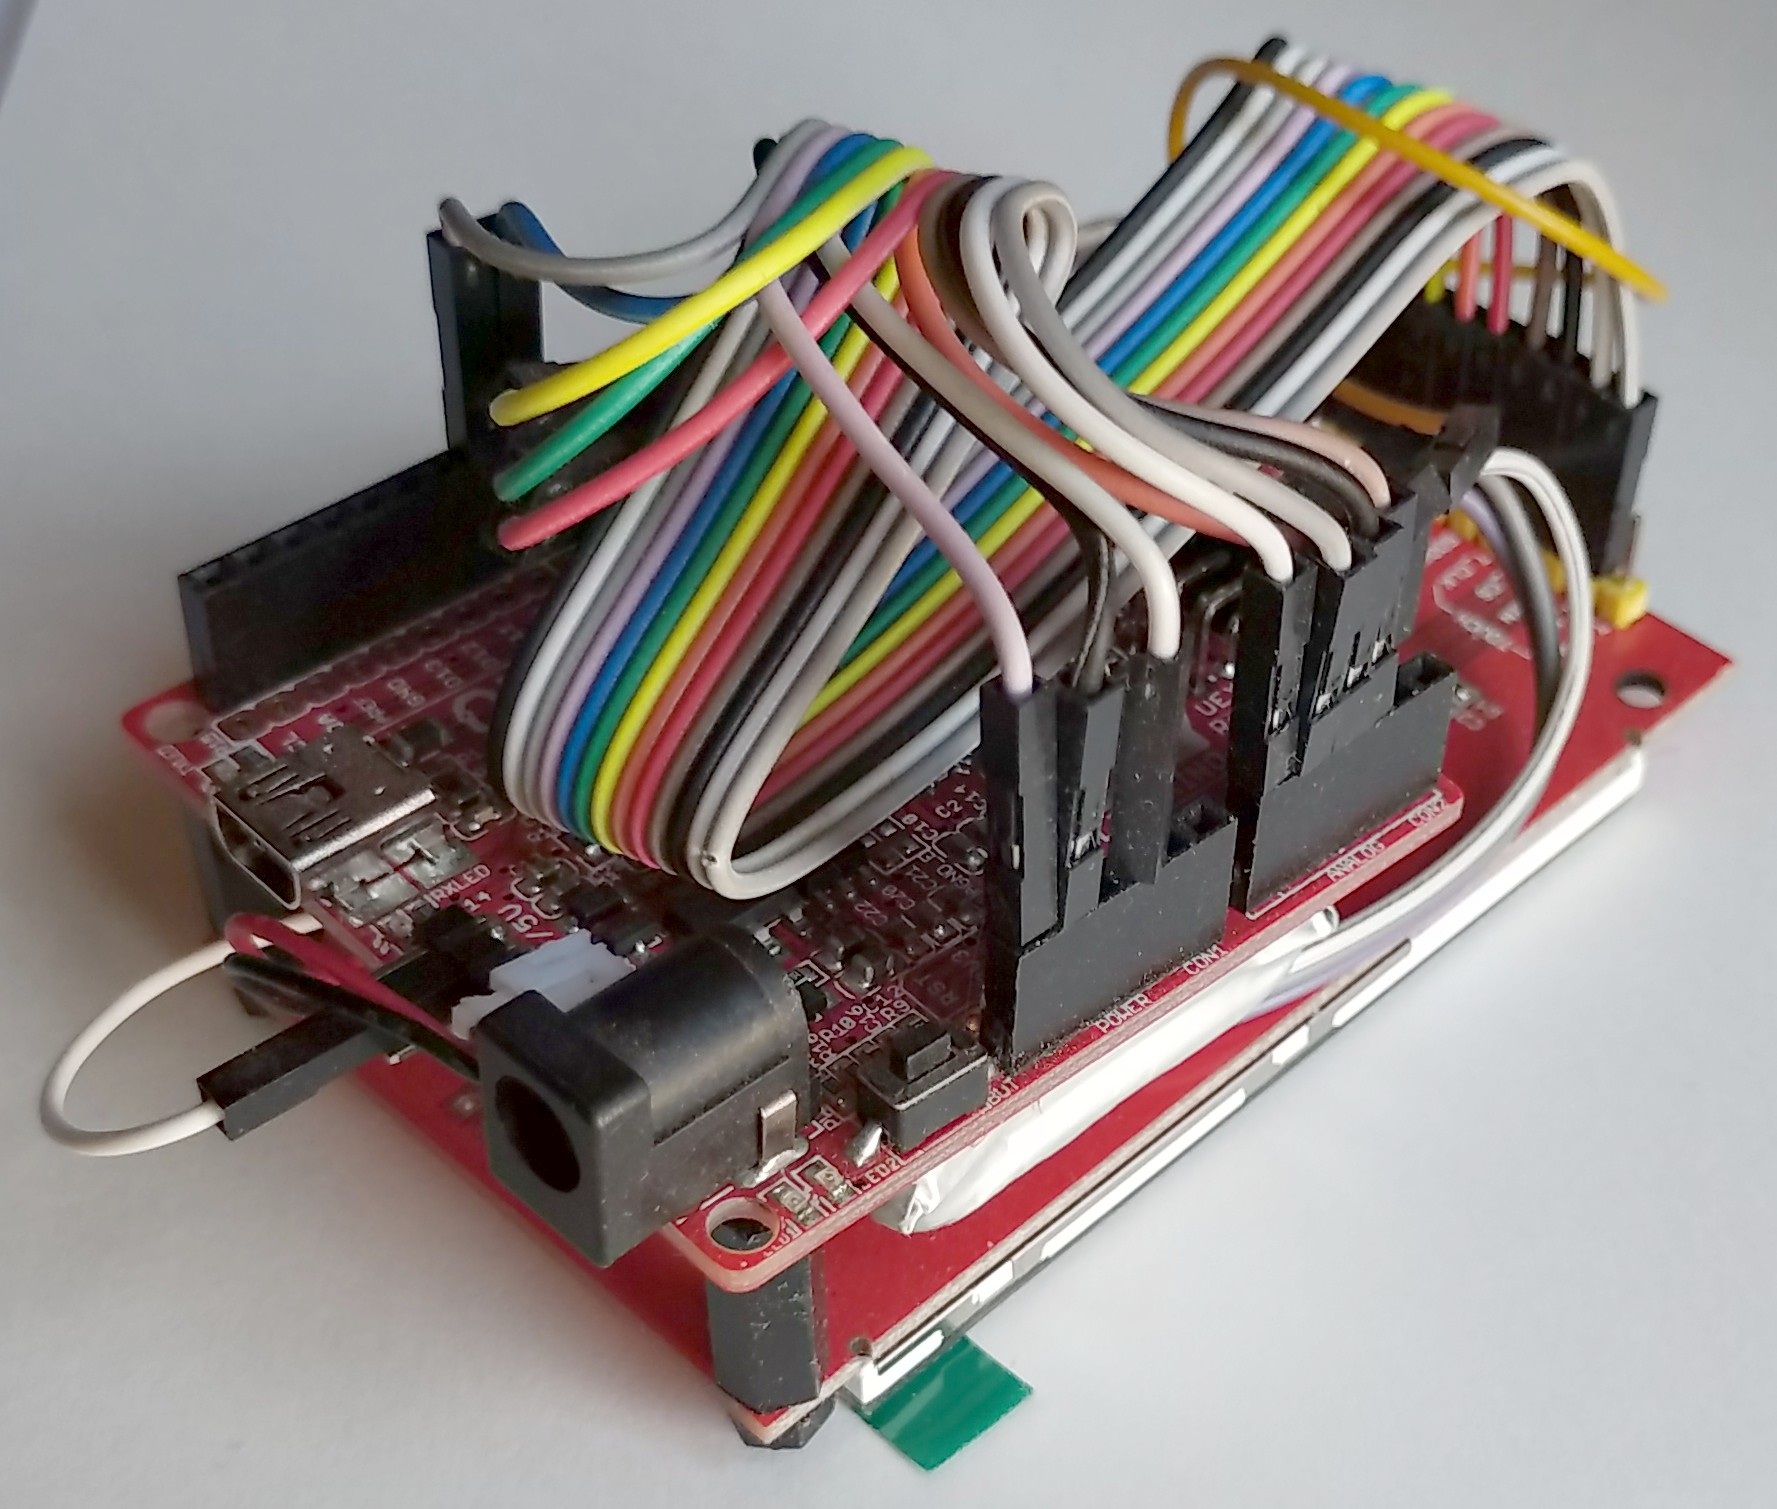
Not the slickest-looking piece of hardware, but it's a starting point. Microcontroller, display, touchscreen, and even a battery. The fingerprint scanner wasn't part of the original concept.

Slide
Venice inventors logo
First Prototype

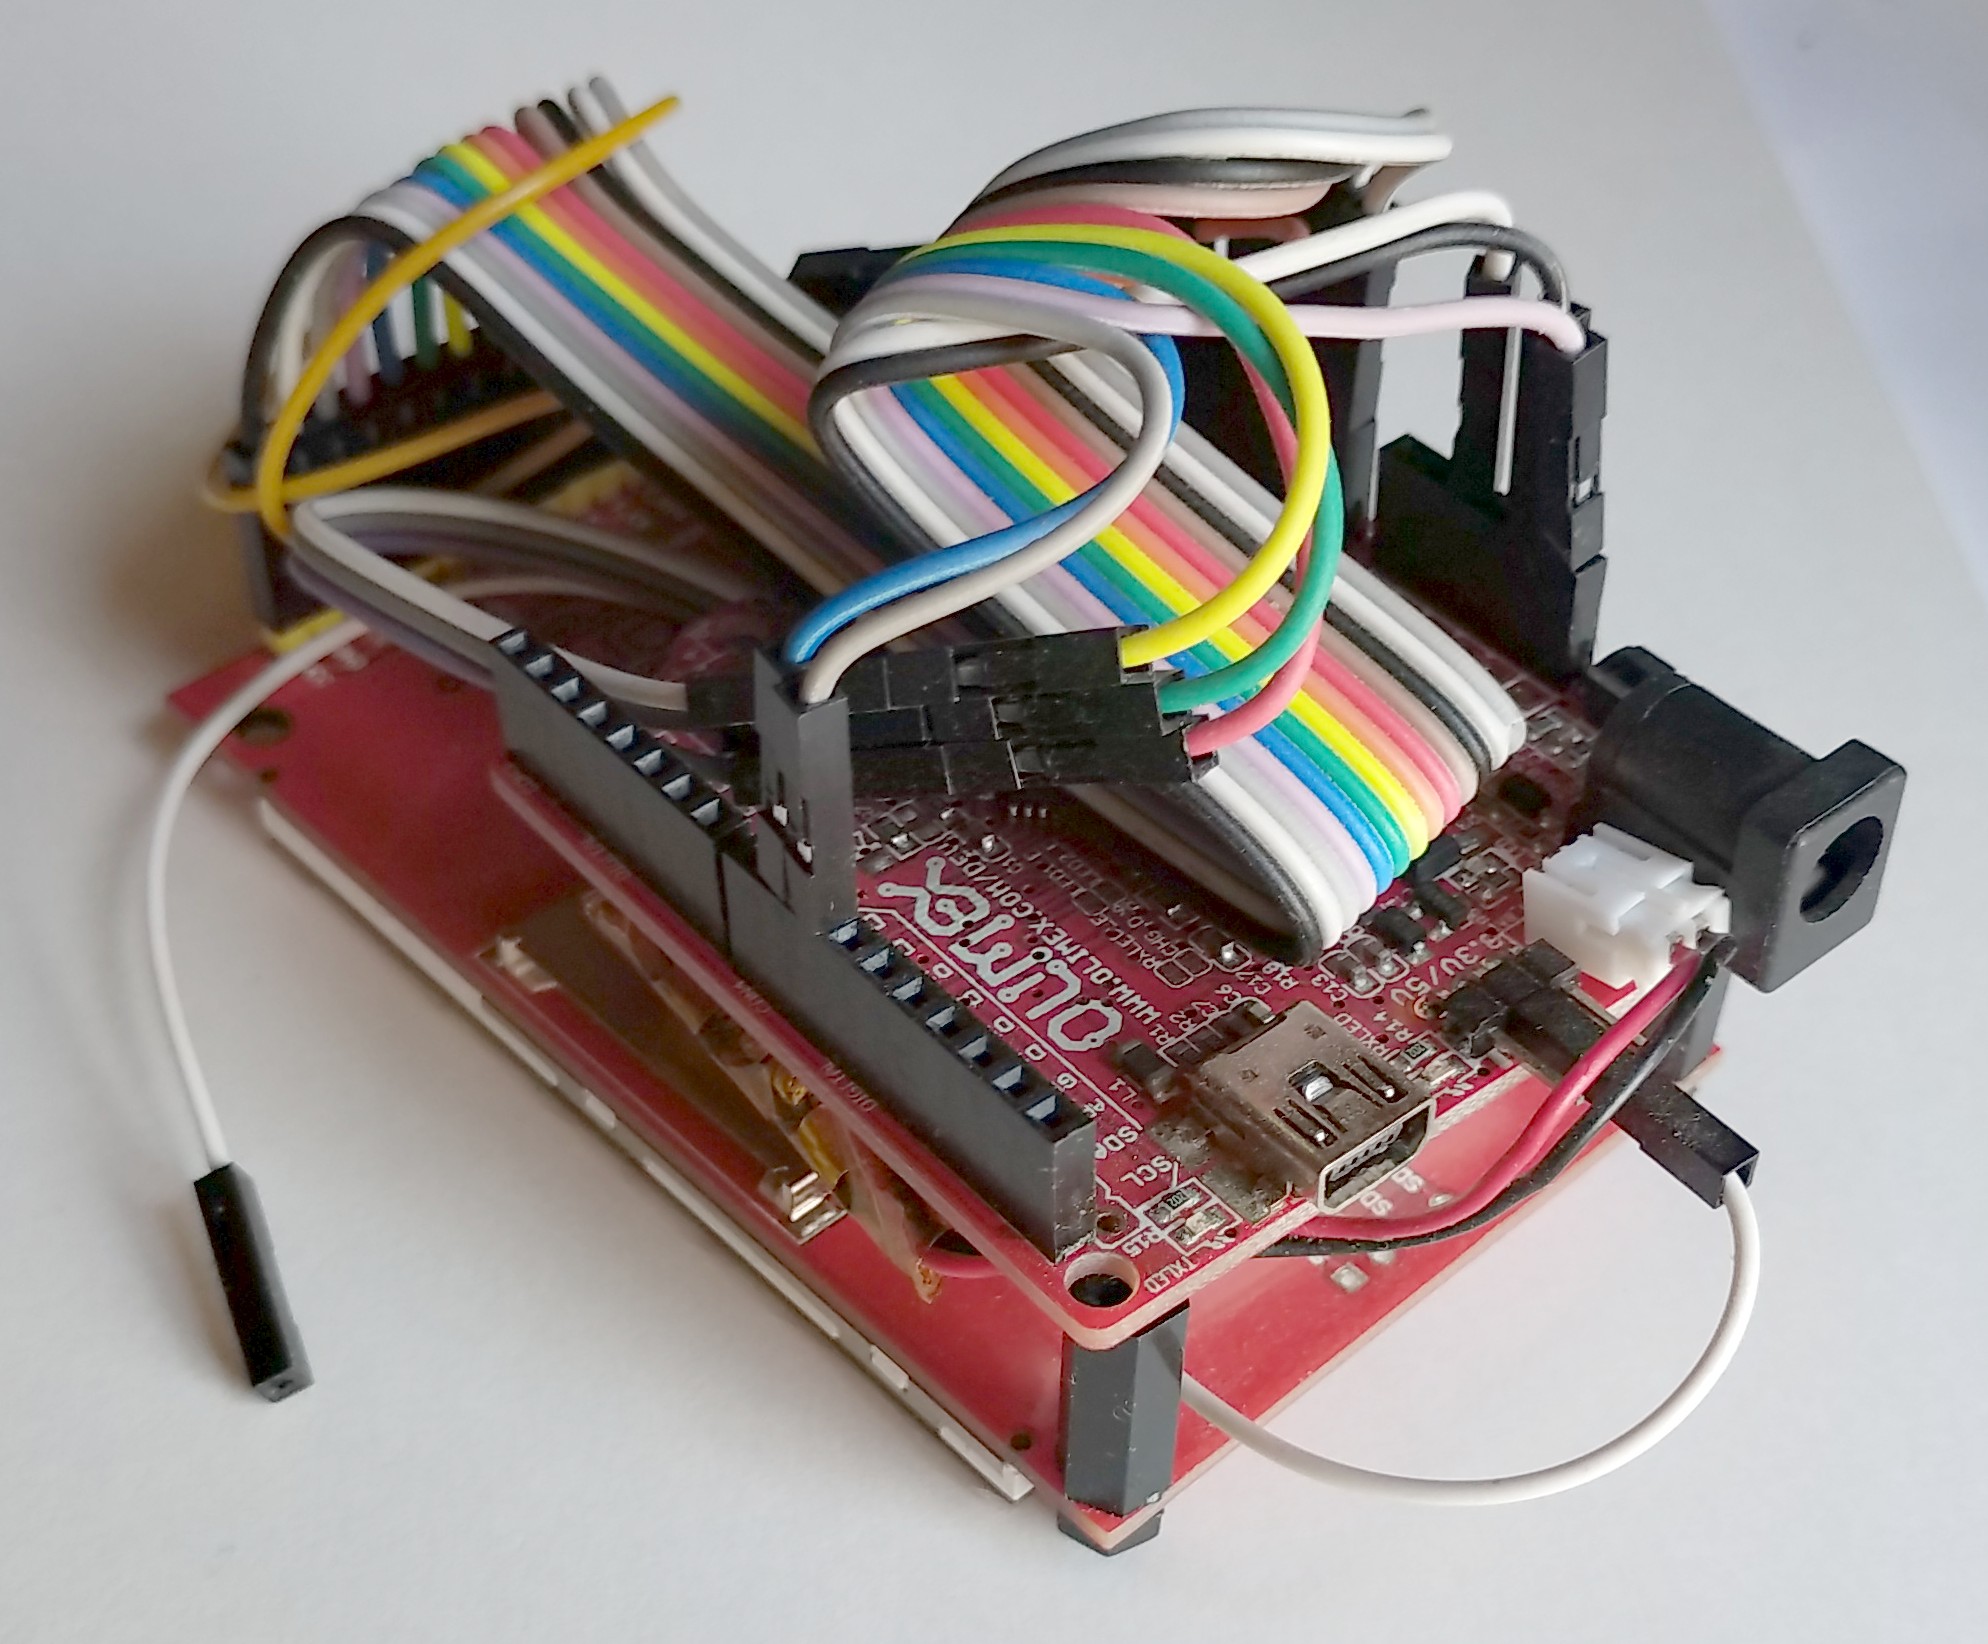
The Olimex board is great for prototyping. It is Arduino-compatible and supports 3.3V or 5V I/O. It also has a built-in LiPo battery charging circuit.

Slide
Venice inventors logo
First Prototype

Rainbow Spaghetti Art

Slide
Venice inventors logo
code sample
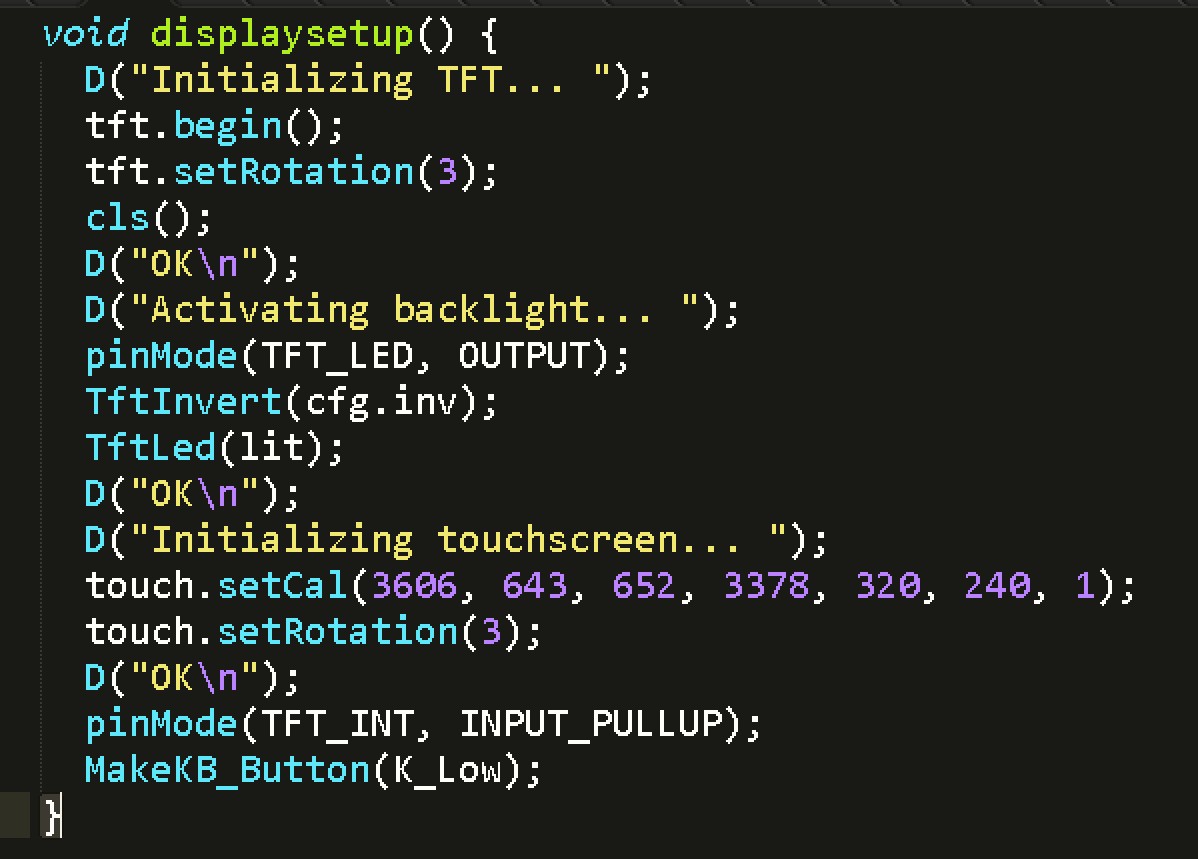
Coding all the way down the rabbit hole

As with any other prototype using a microcontroller, nothing happens unless there is code to make it happen. First, get the display working, then the touchscreen, add some menus, draw a keyboard, read the user input, and so on. It took many weeks to complete the code but it was worth it.

Slide
Venice inventors logo
second prototype
Second Prototype

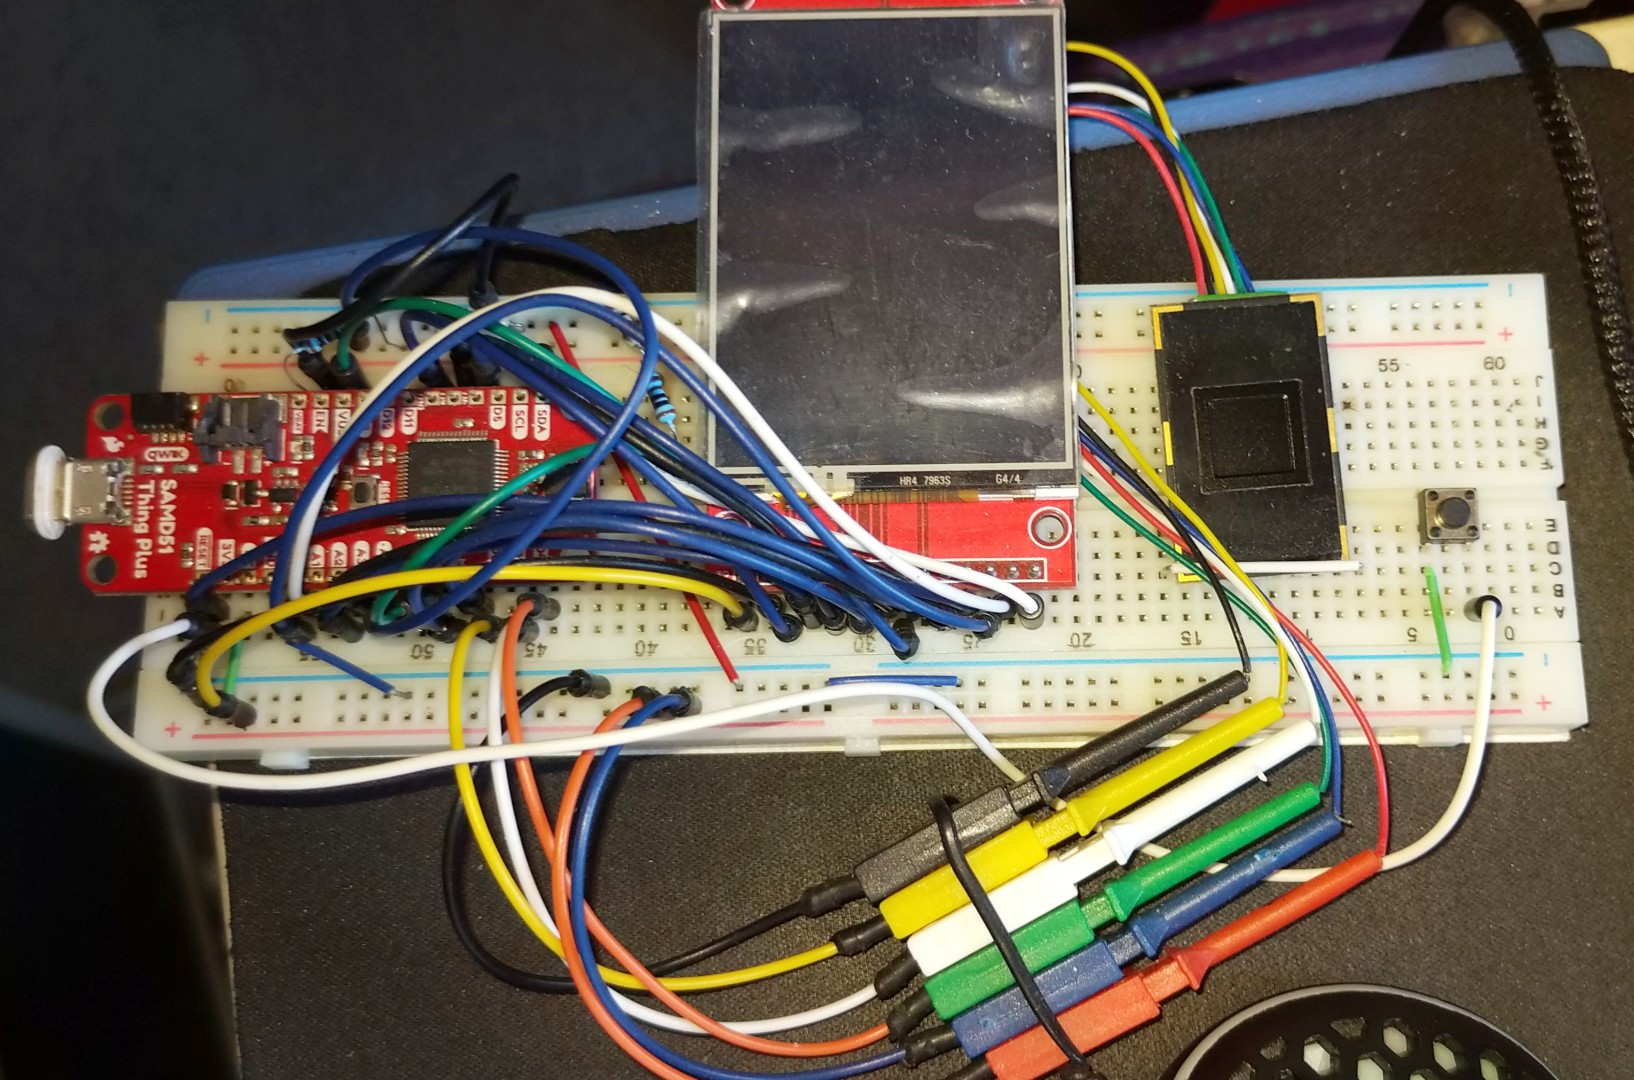
Once the code was working it was time to switch to a smaller yet more powerful microcontroller, followed by a few code changes for the new chip and the idea of adding a fingerprint scanner.

Slide
Venice inventors logo
Blender3D redesign of the prototype
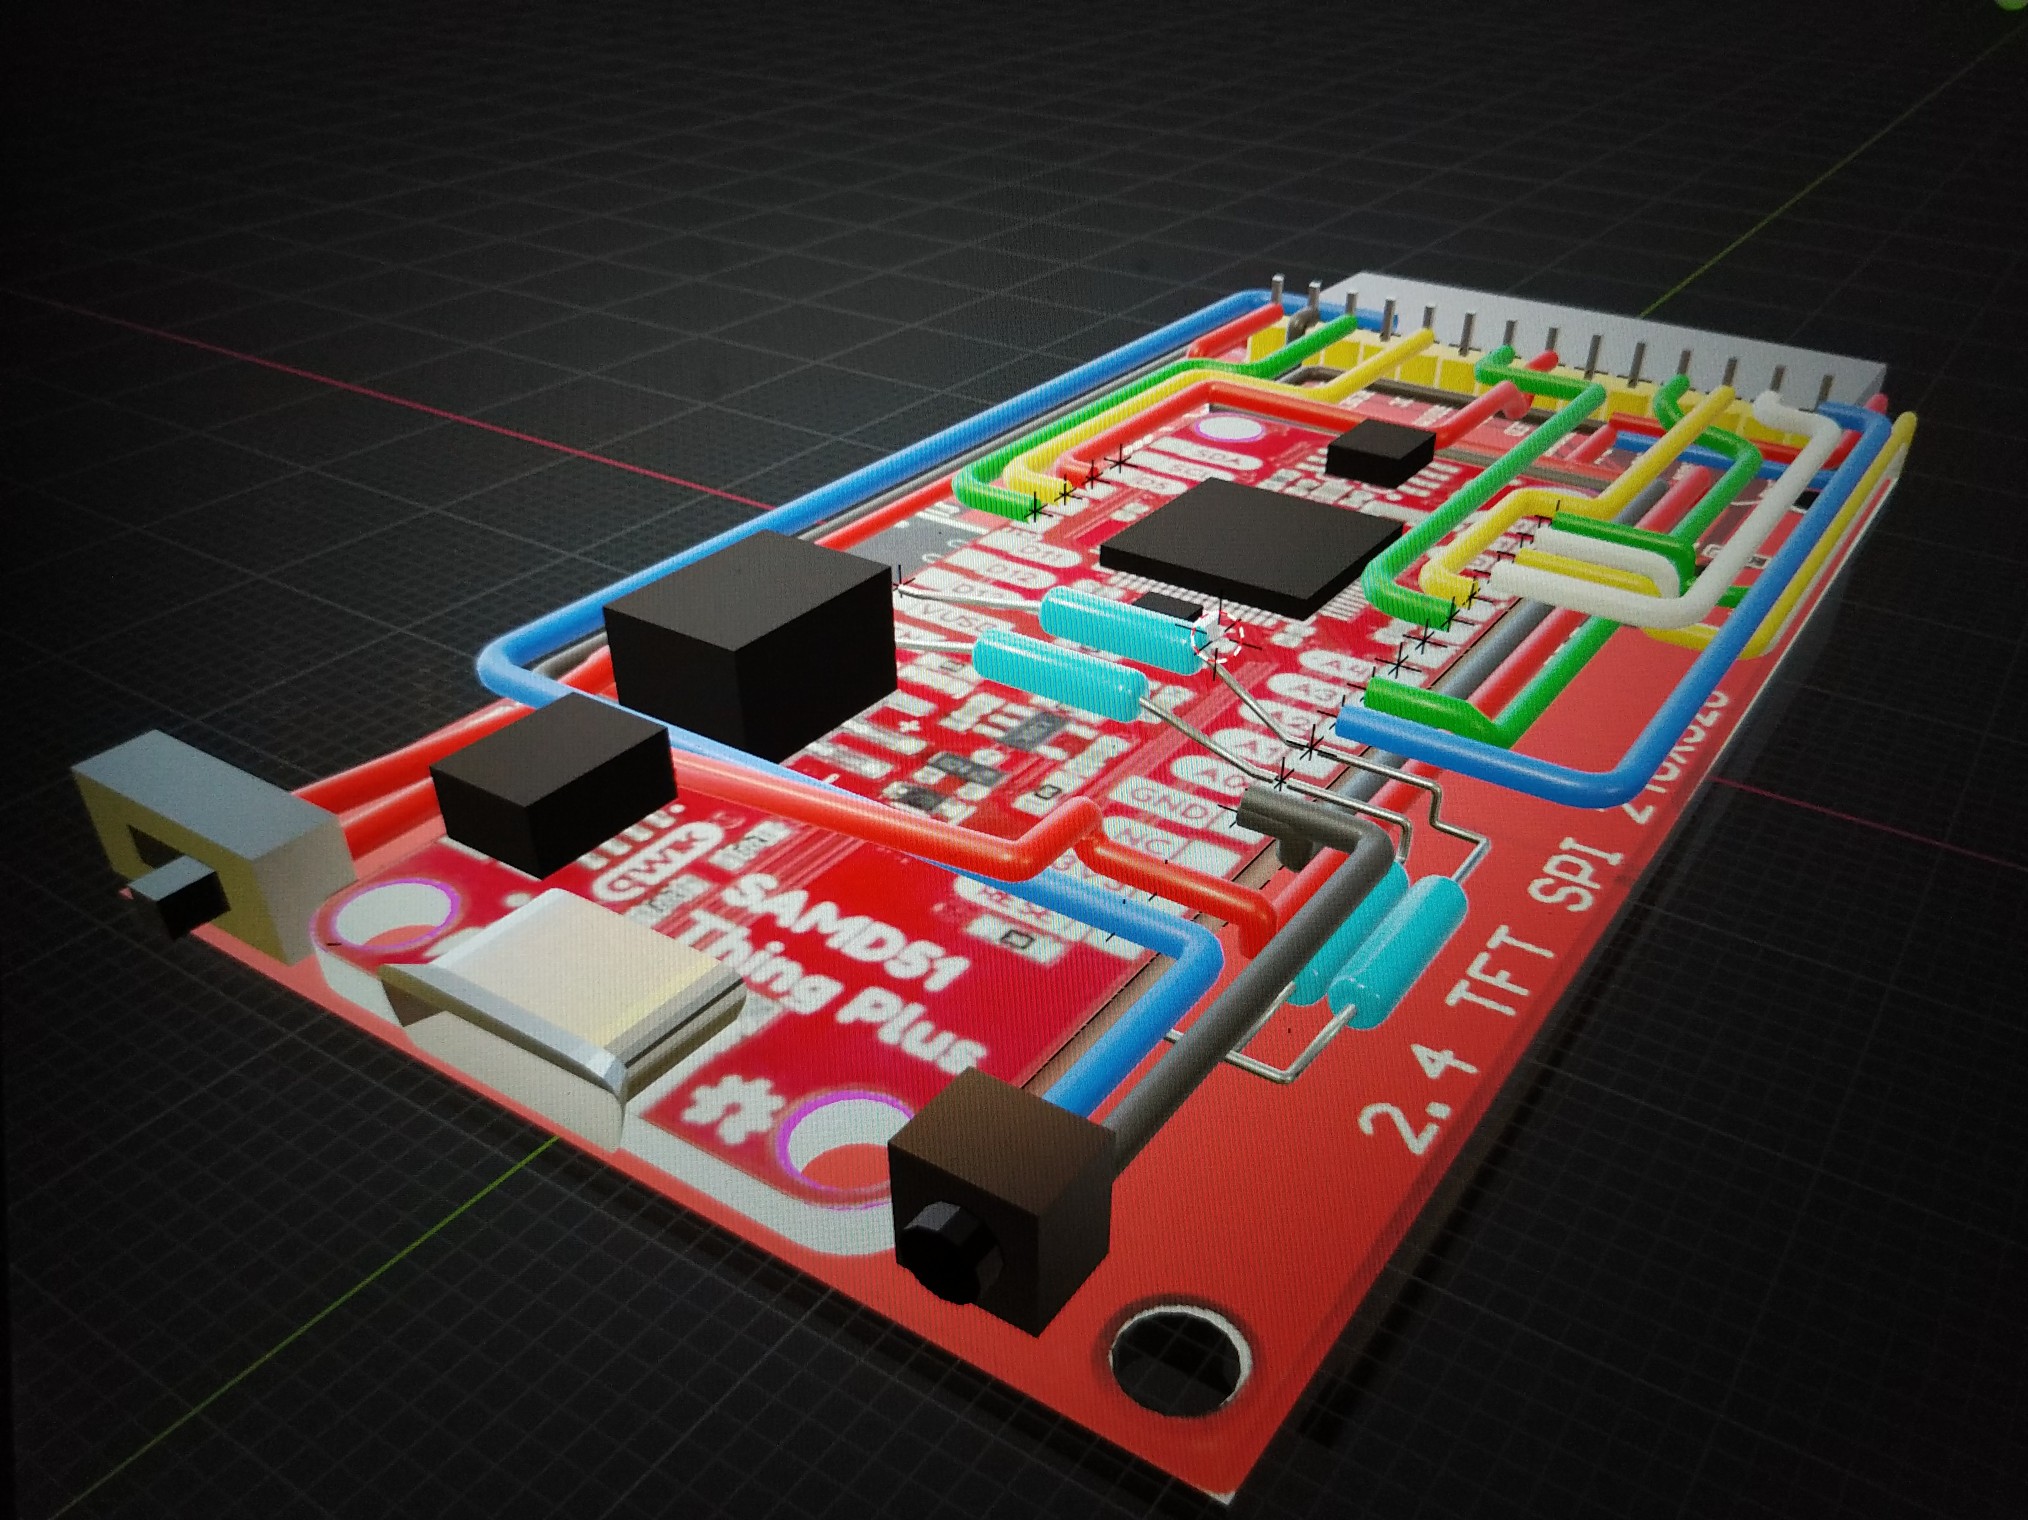
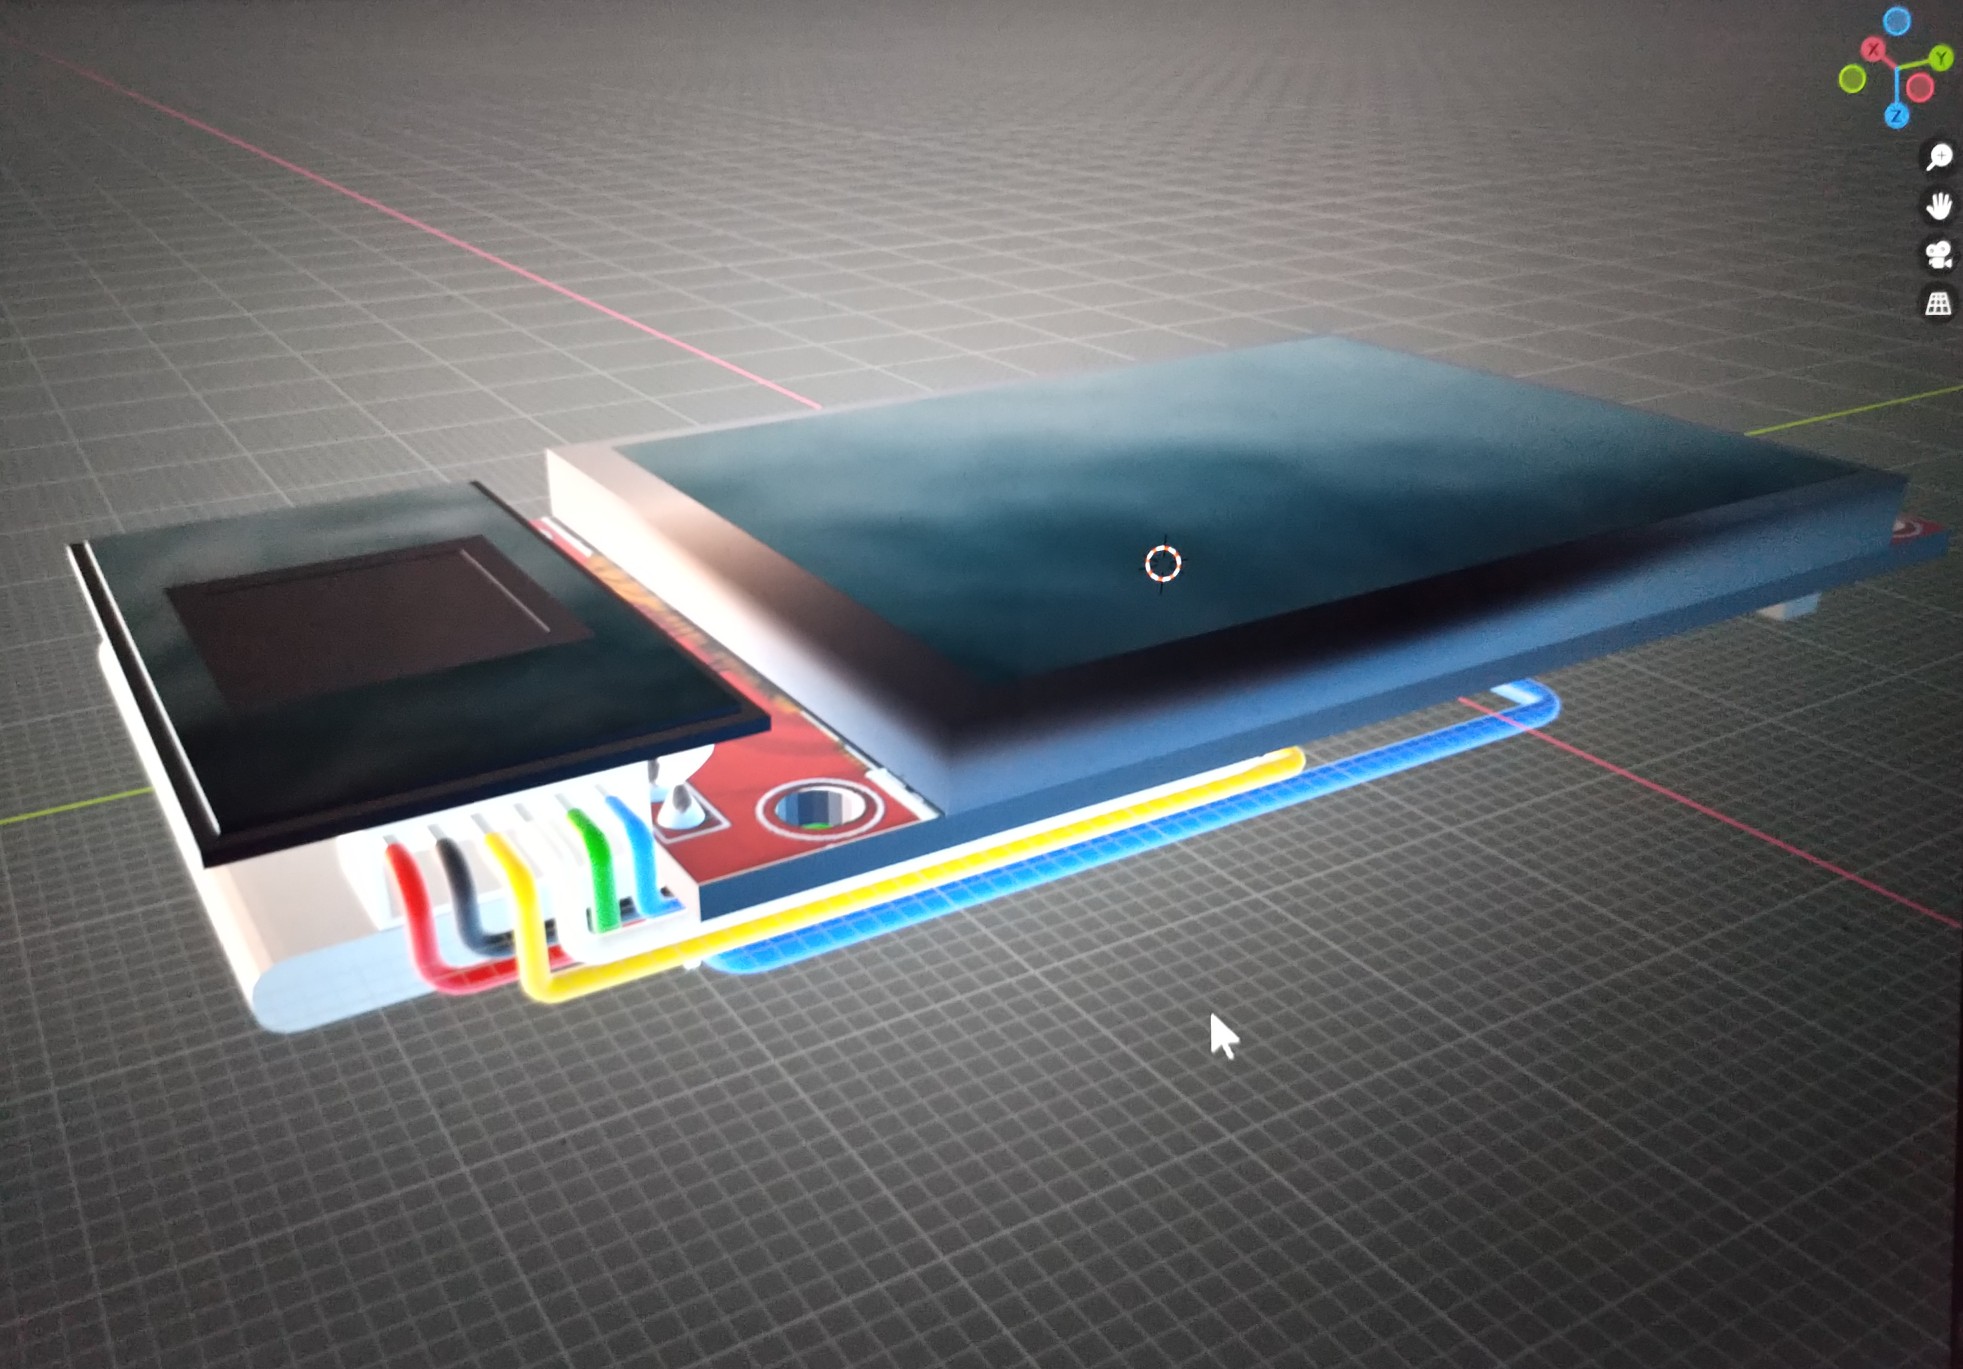
Replicating Prototype 2 in Blender 3D

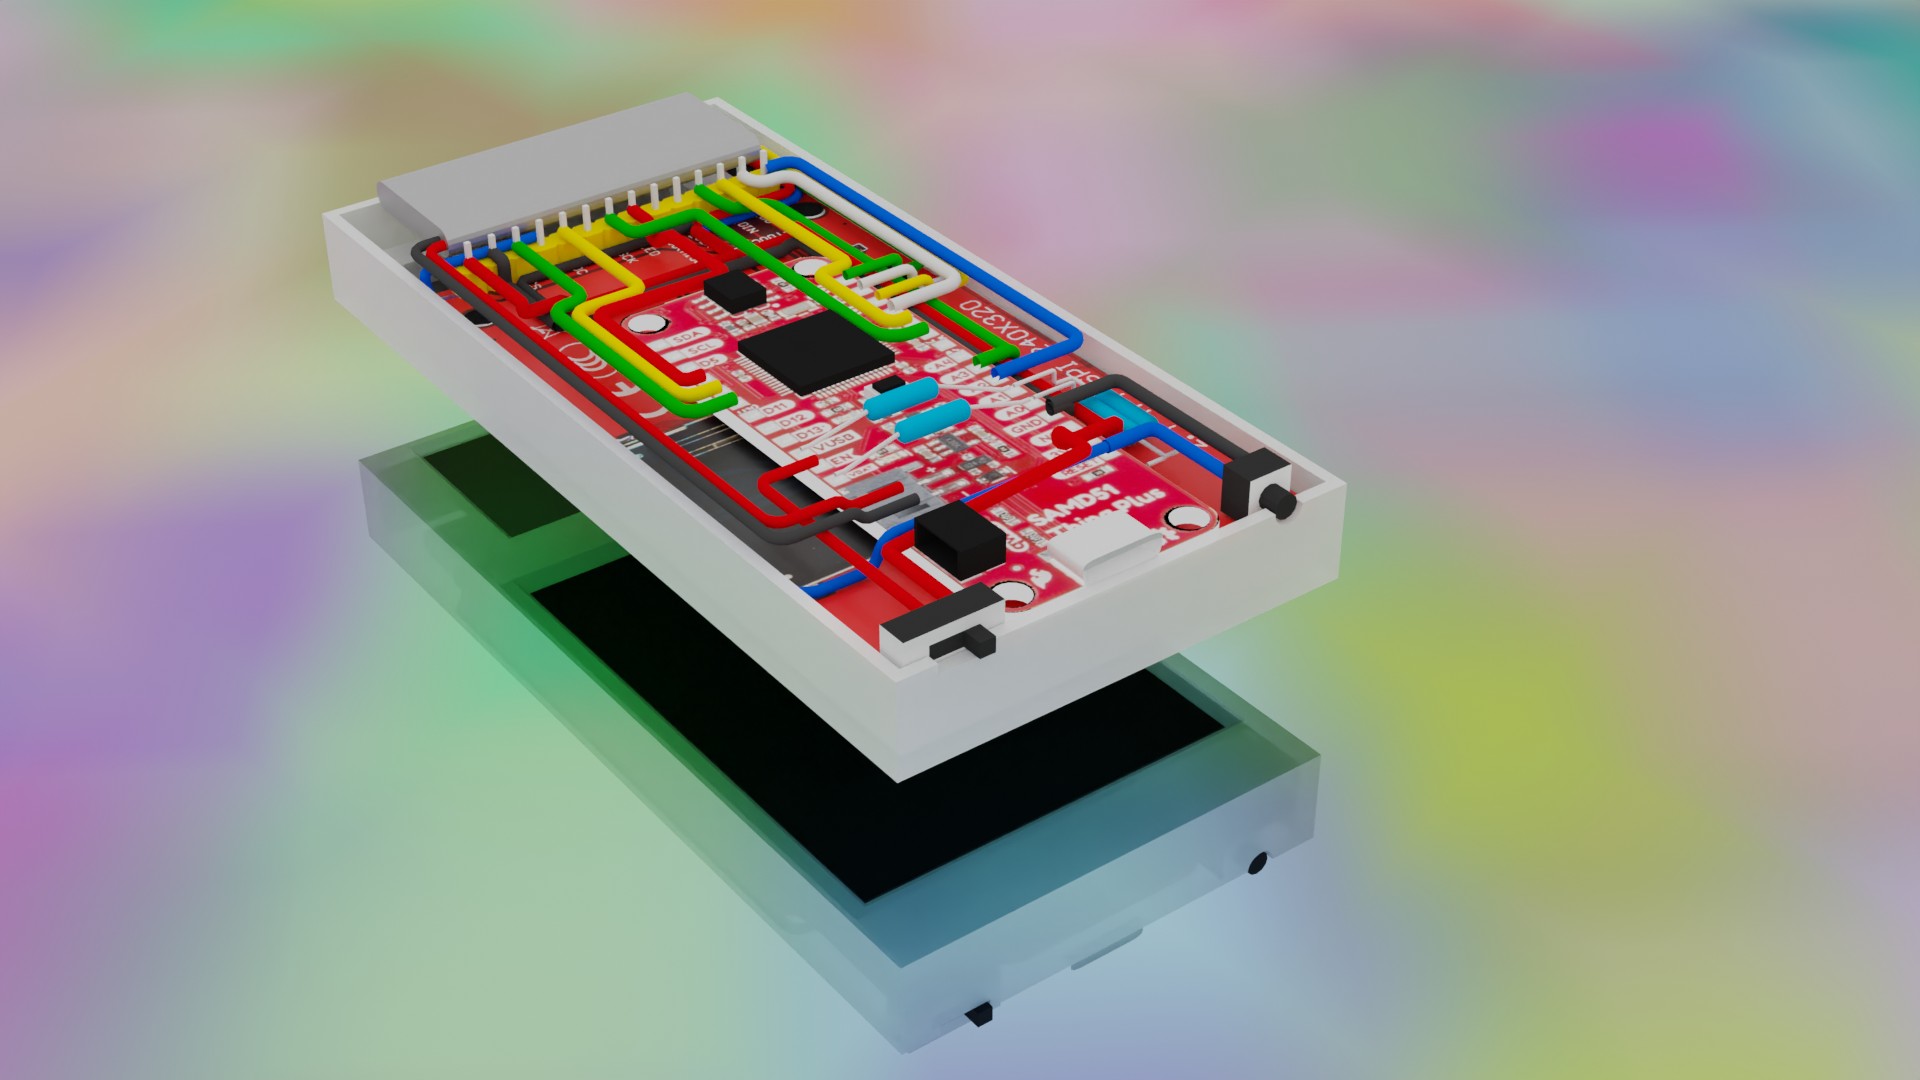
After days working on the new code for version 2 of the prototype, the next step was to figure out the best layout for the hardware by creating a virtual model on the computer.

Slide
Venice inventors logo
Blender simulation of prototype
Replicating Prototype 2 in Blender 3D

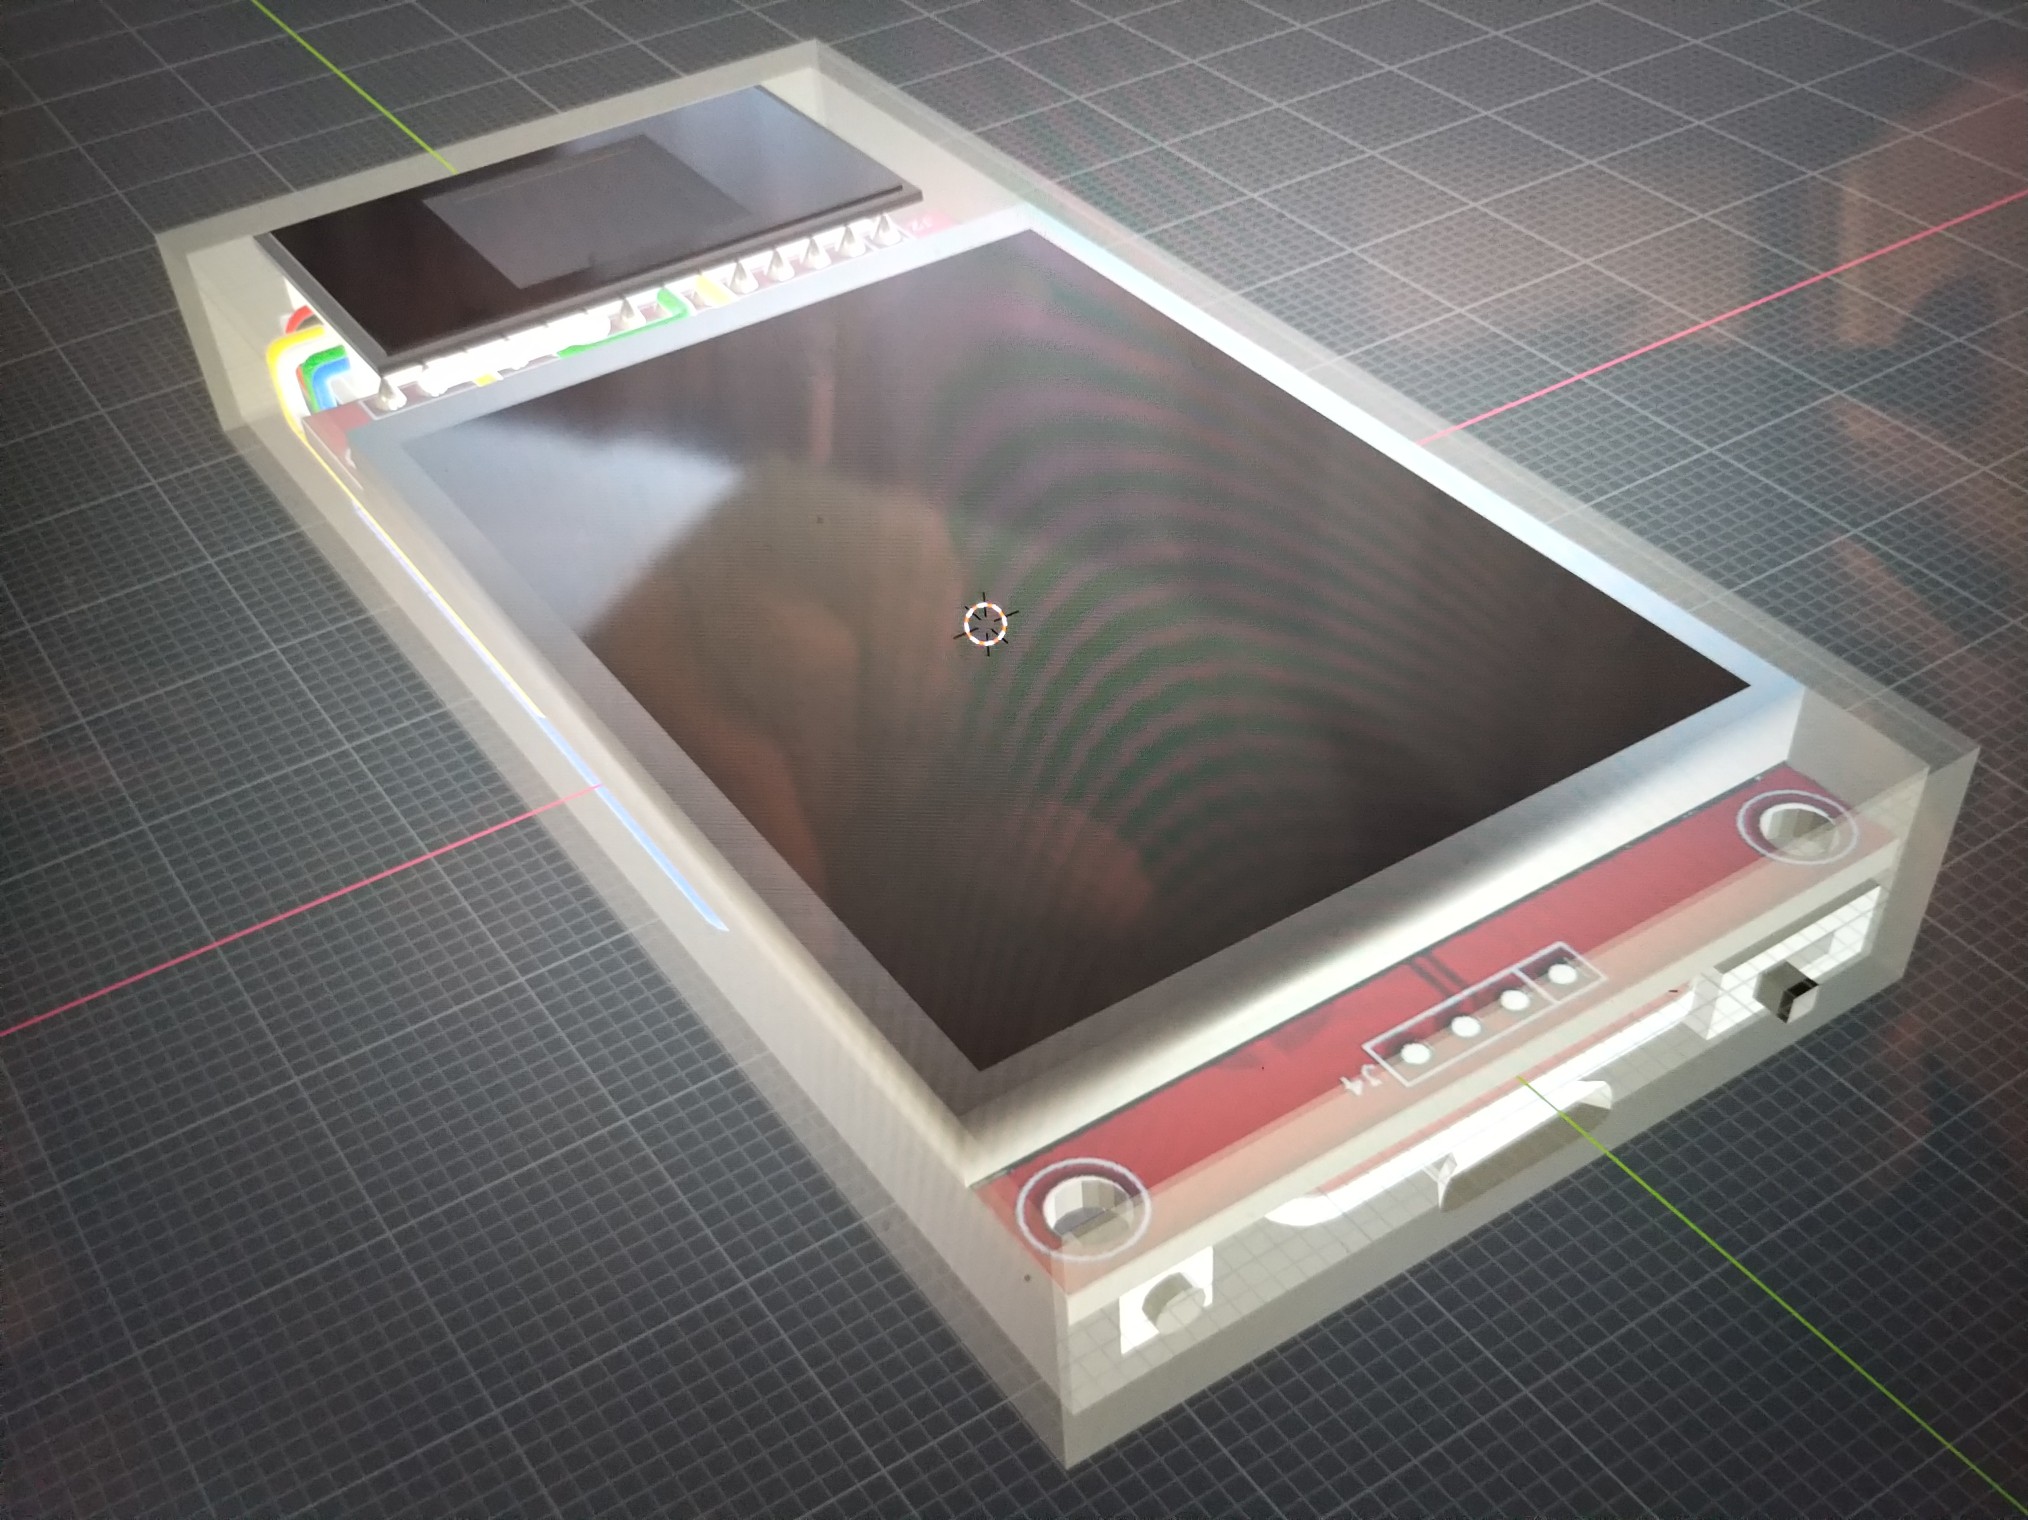
Blender was not meant to be a CAD program but it got the job done.

Slide
Venice inventors logo
Case design in Blender
Case Design

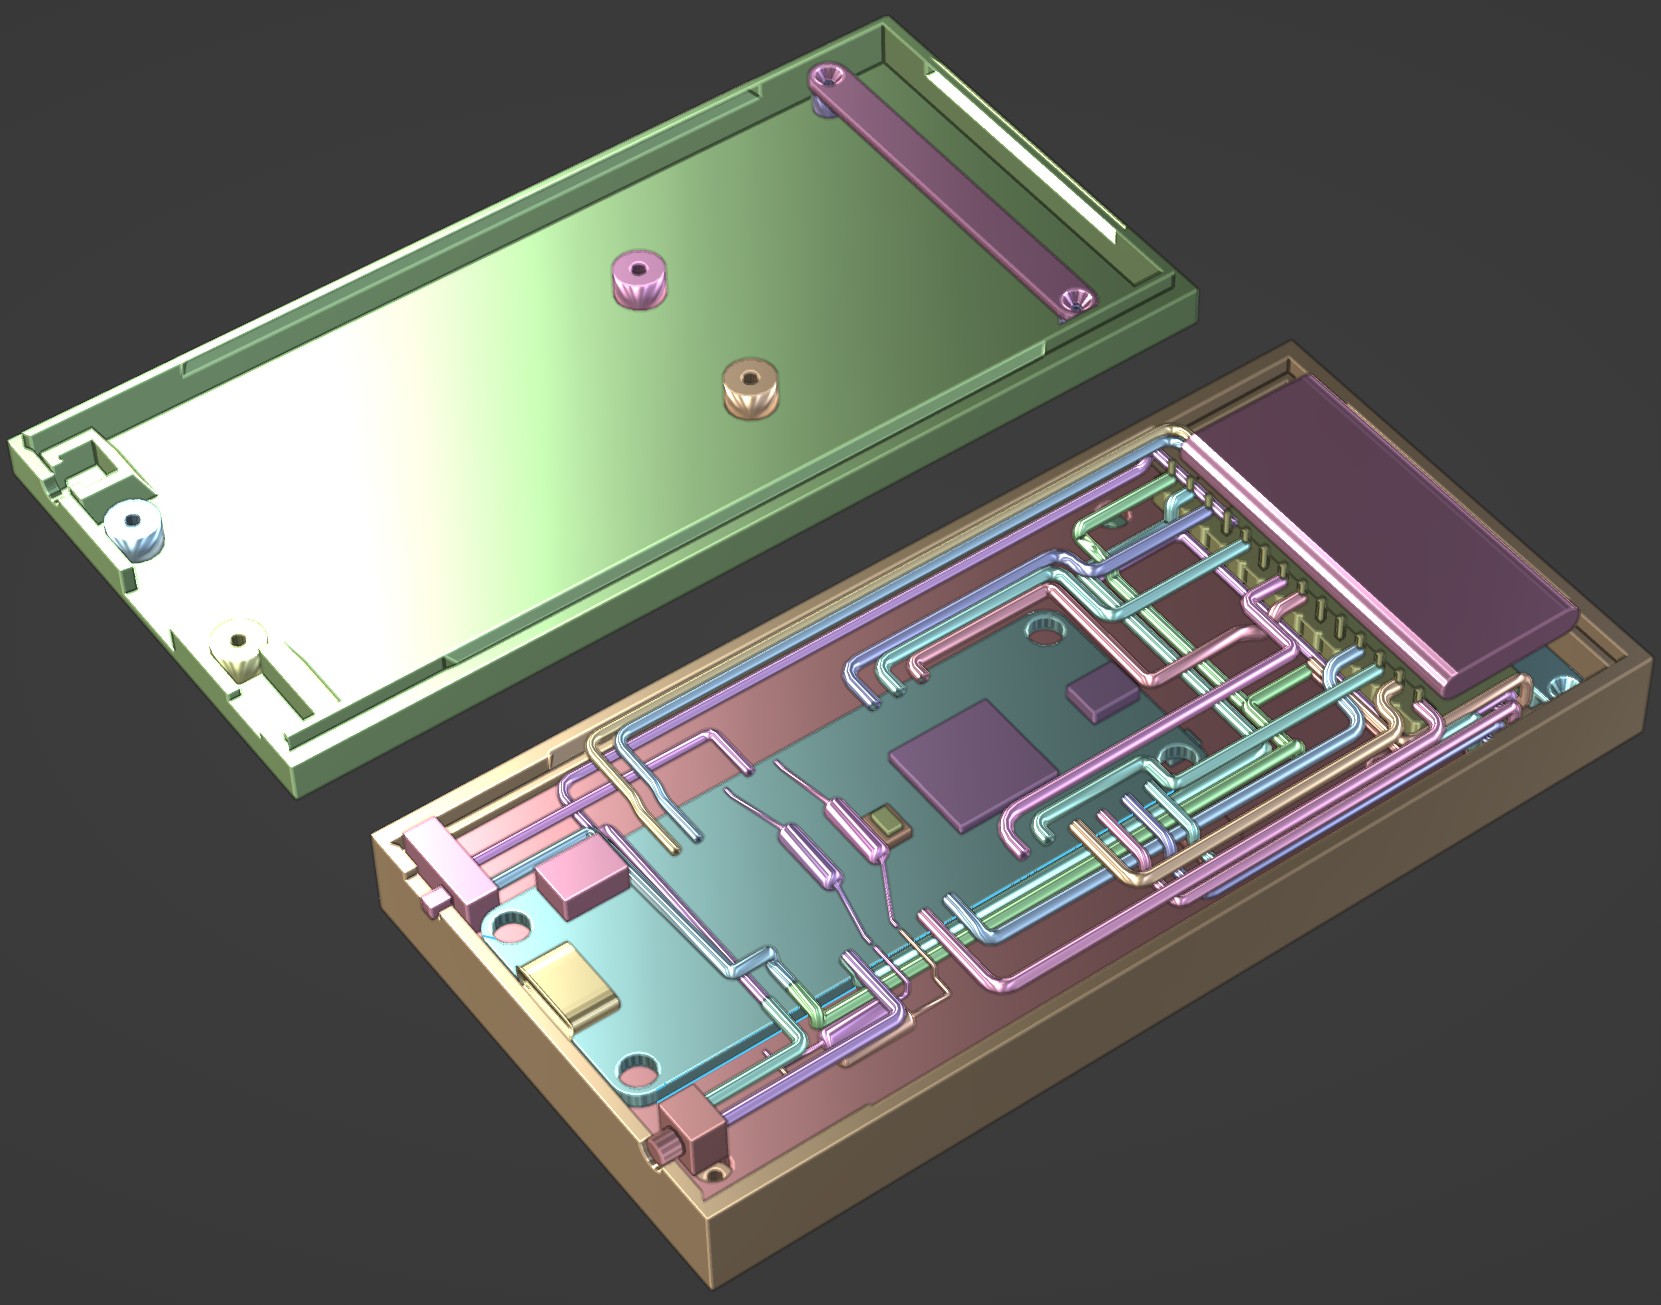
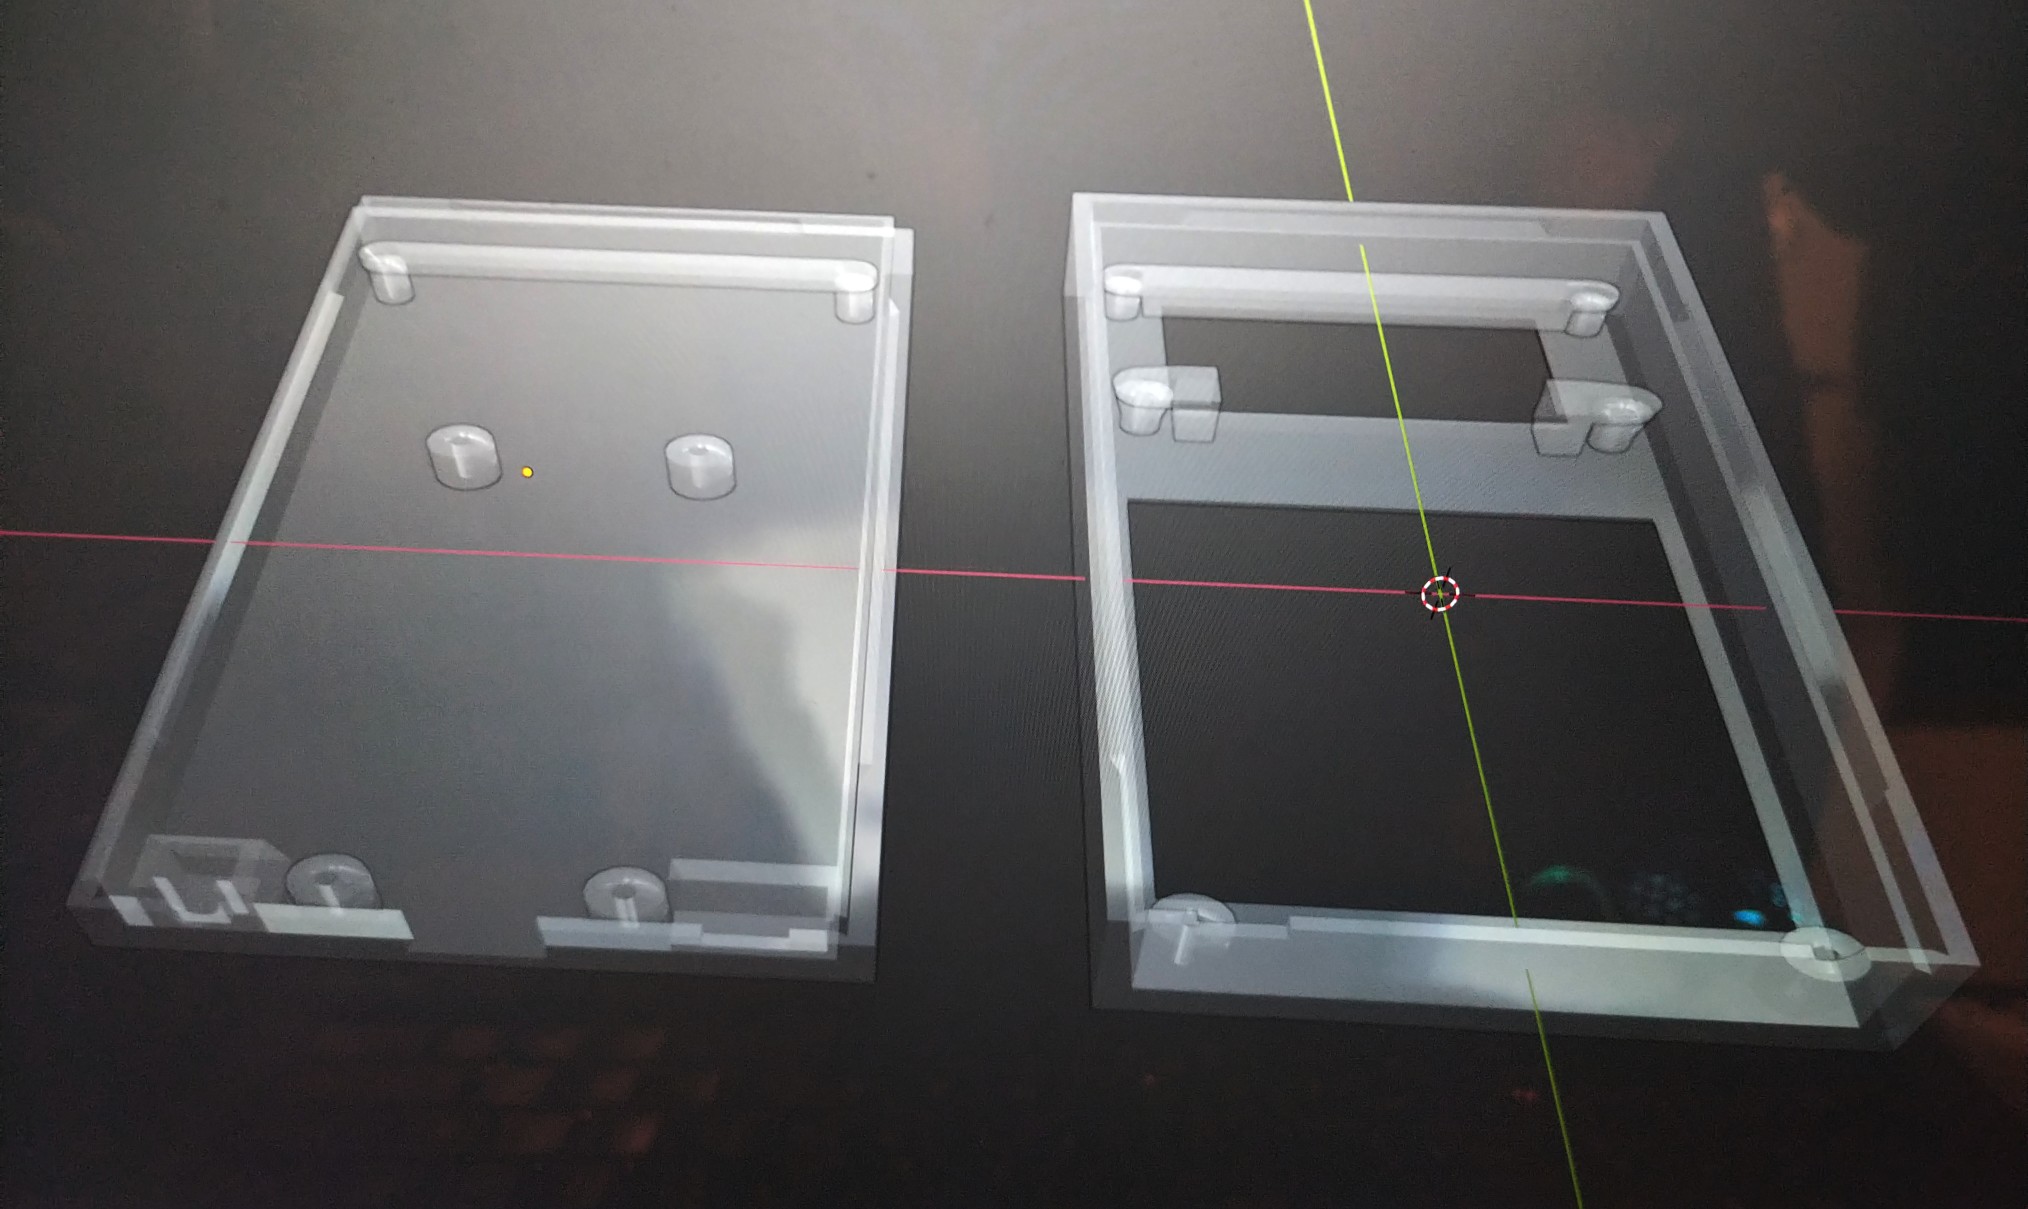
Once all the parts were stacked together as tightly as possible, the next step was to design the case around it. Easier said than done, it took many days to model all the fine details not visible here.

Slide
Venice inventors logo
blender case design ready to print
Case Ready for 3D Printing

Every detail takes into account the limitations of the 3D printing process and manual assembly of the case.

Slide
Venice inventors logo
final case design ready for printing
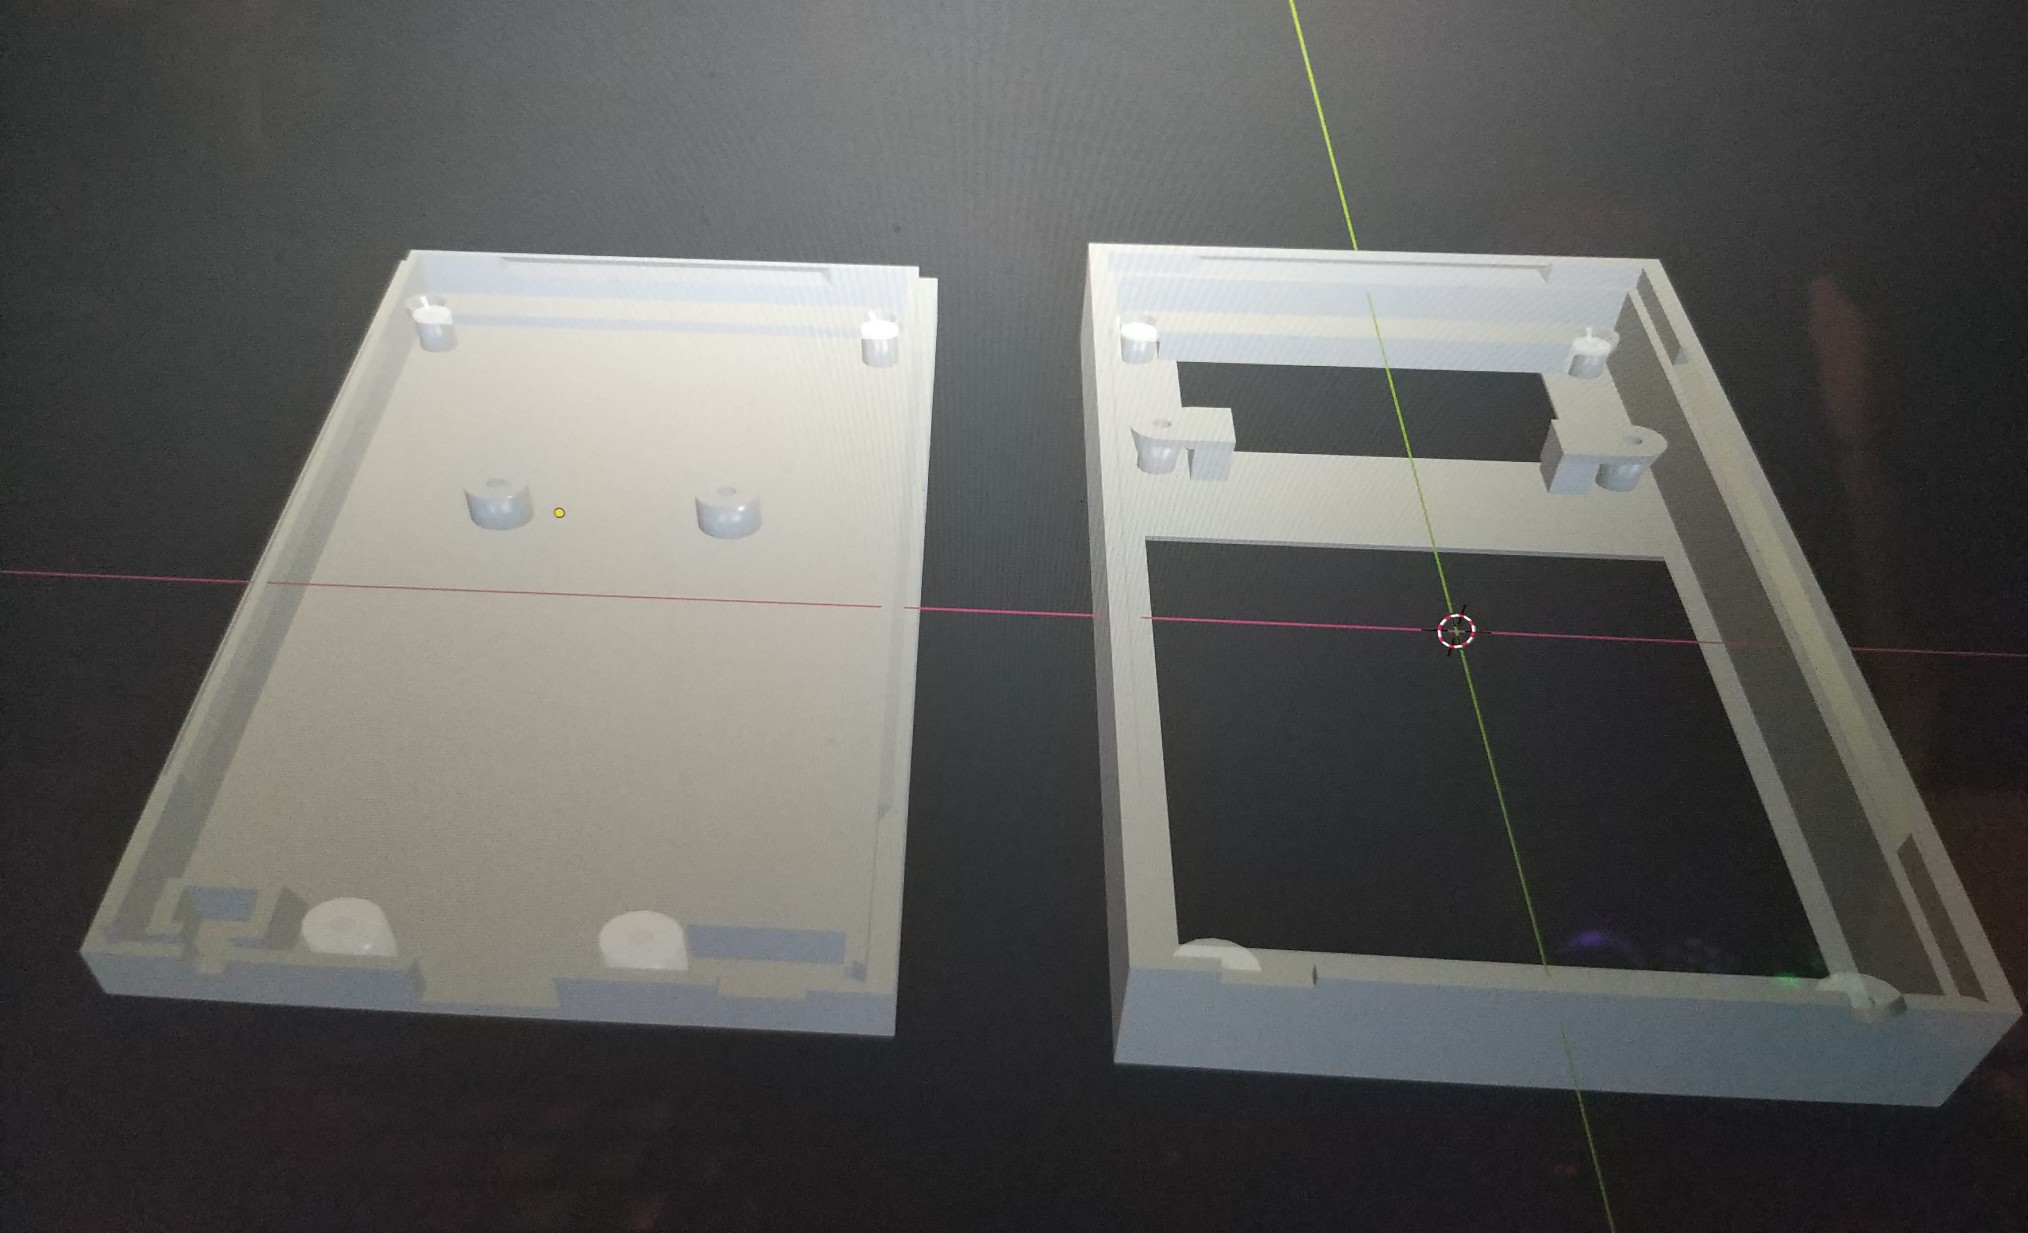
Case Ready for 3D Printing

The case parts are exported from Blender in STL format and imported into Cura for slicing (producing a gcode file which contains a sequence of motion/extrusion actions for the 3D printer to carry out).

Slide
Venice inventors logo
3D-printed case
3D-Printed Case

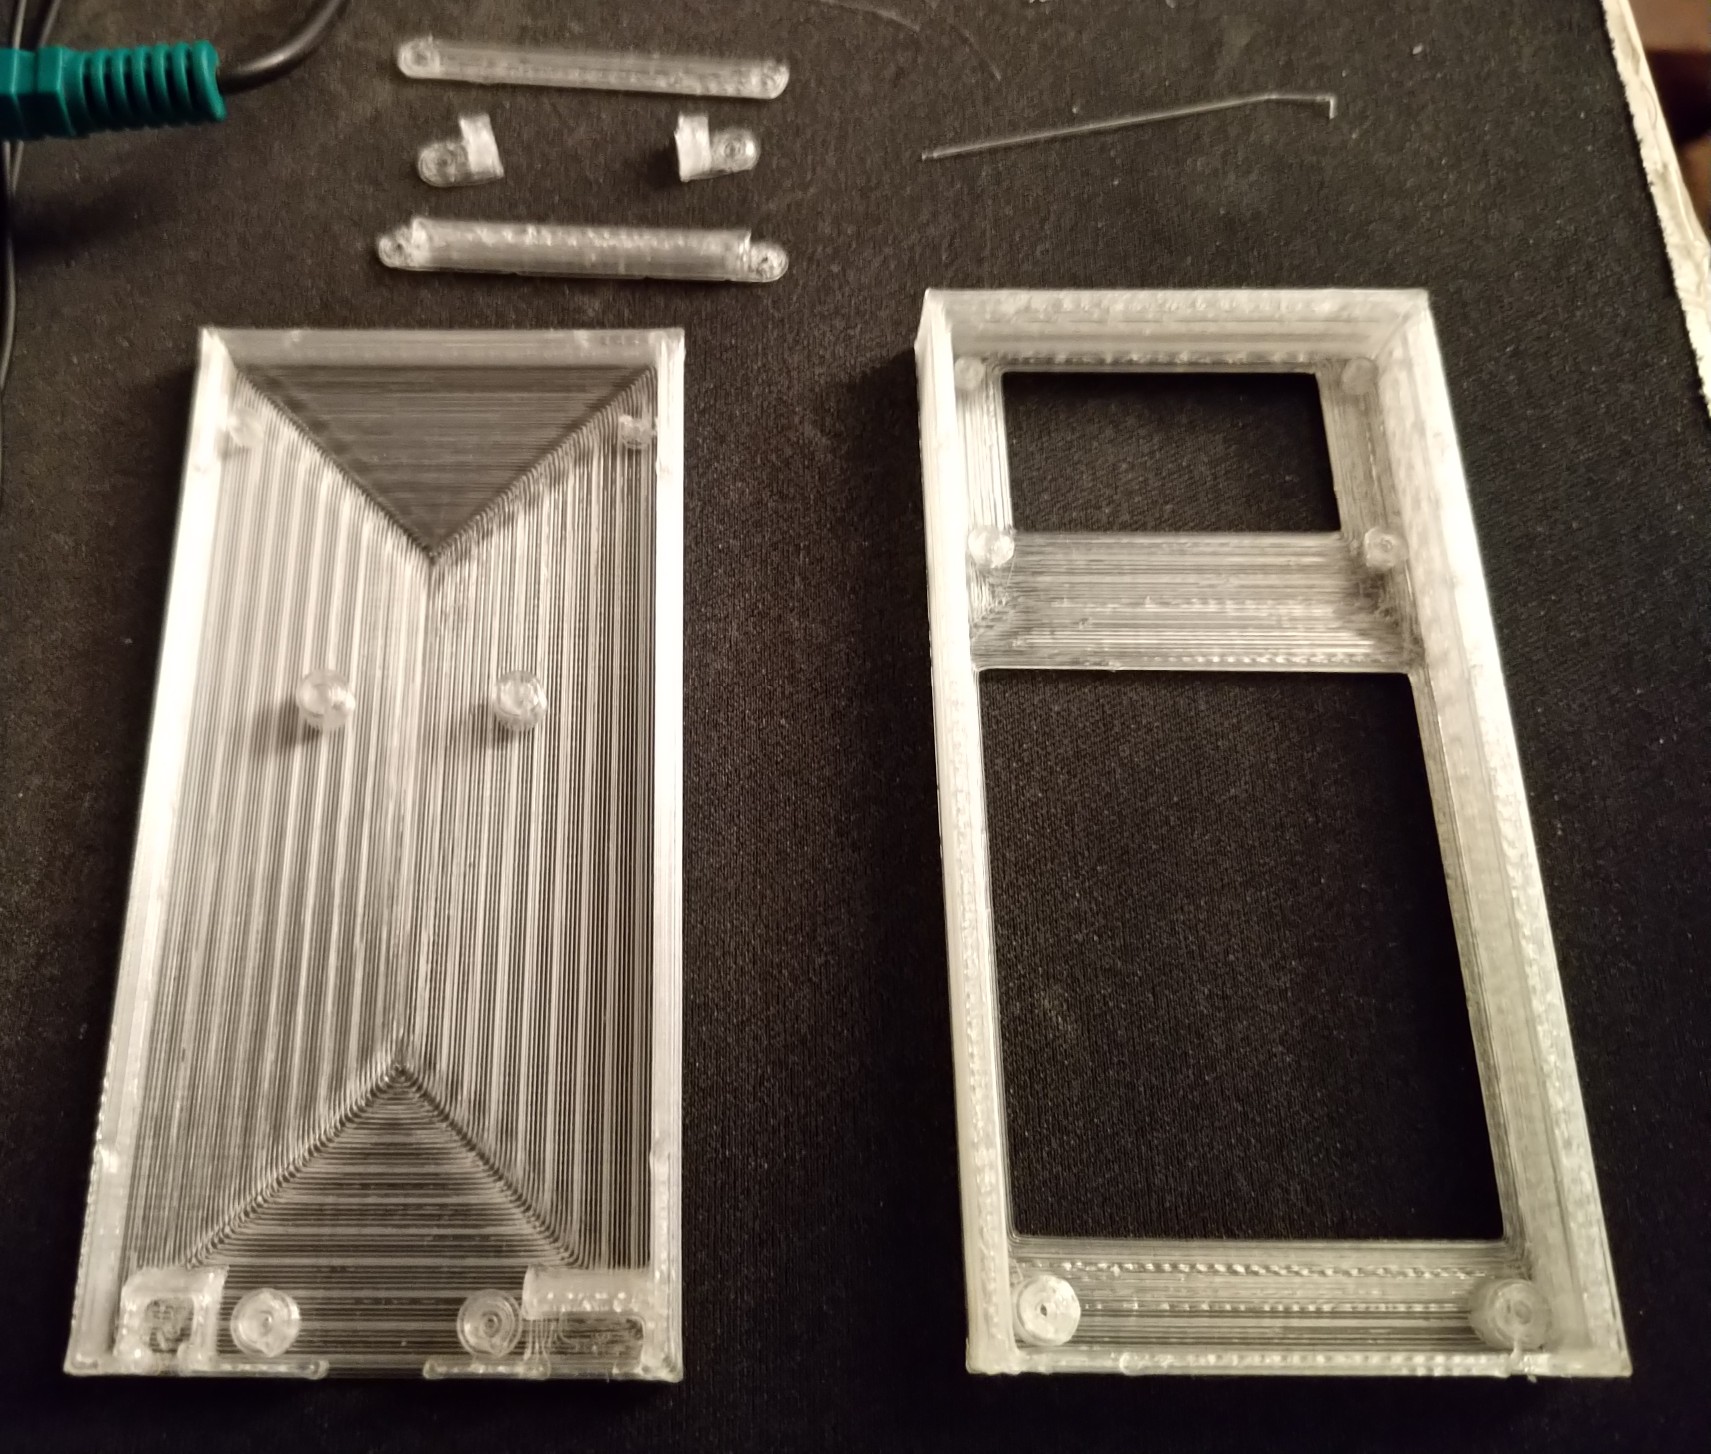
It took an hour to print the case, and it came out just right on the first try. Both halves snap together perfectly which is a relief as we pushed the tolerance requirements beyond what the printer can handle.

Slide
Venice inventors logo
case fitting test
Case Fitting Test

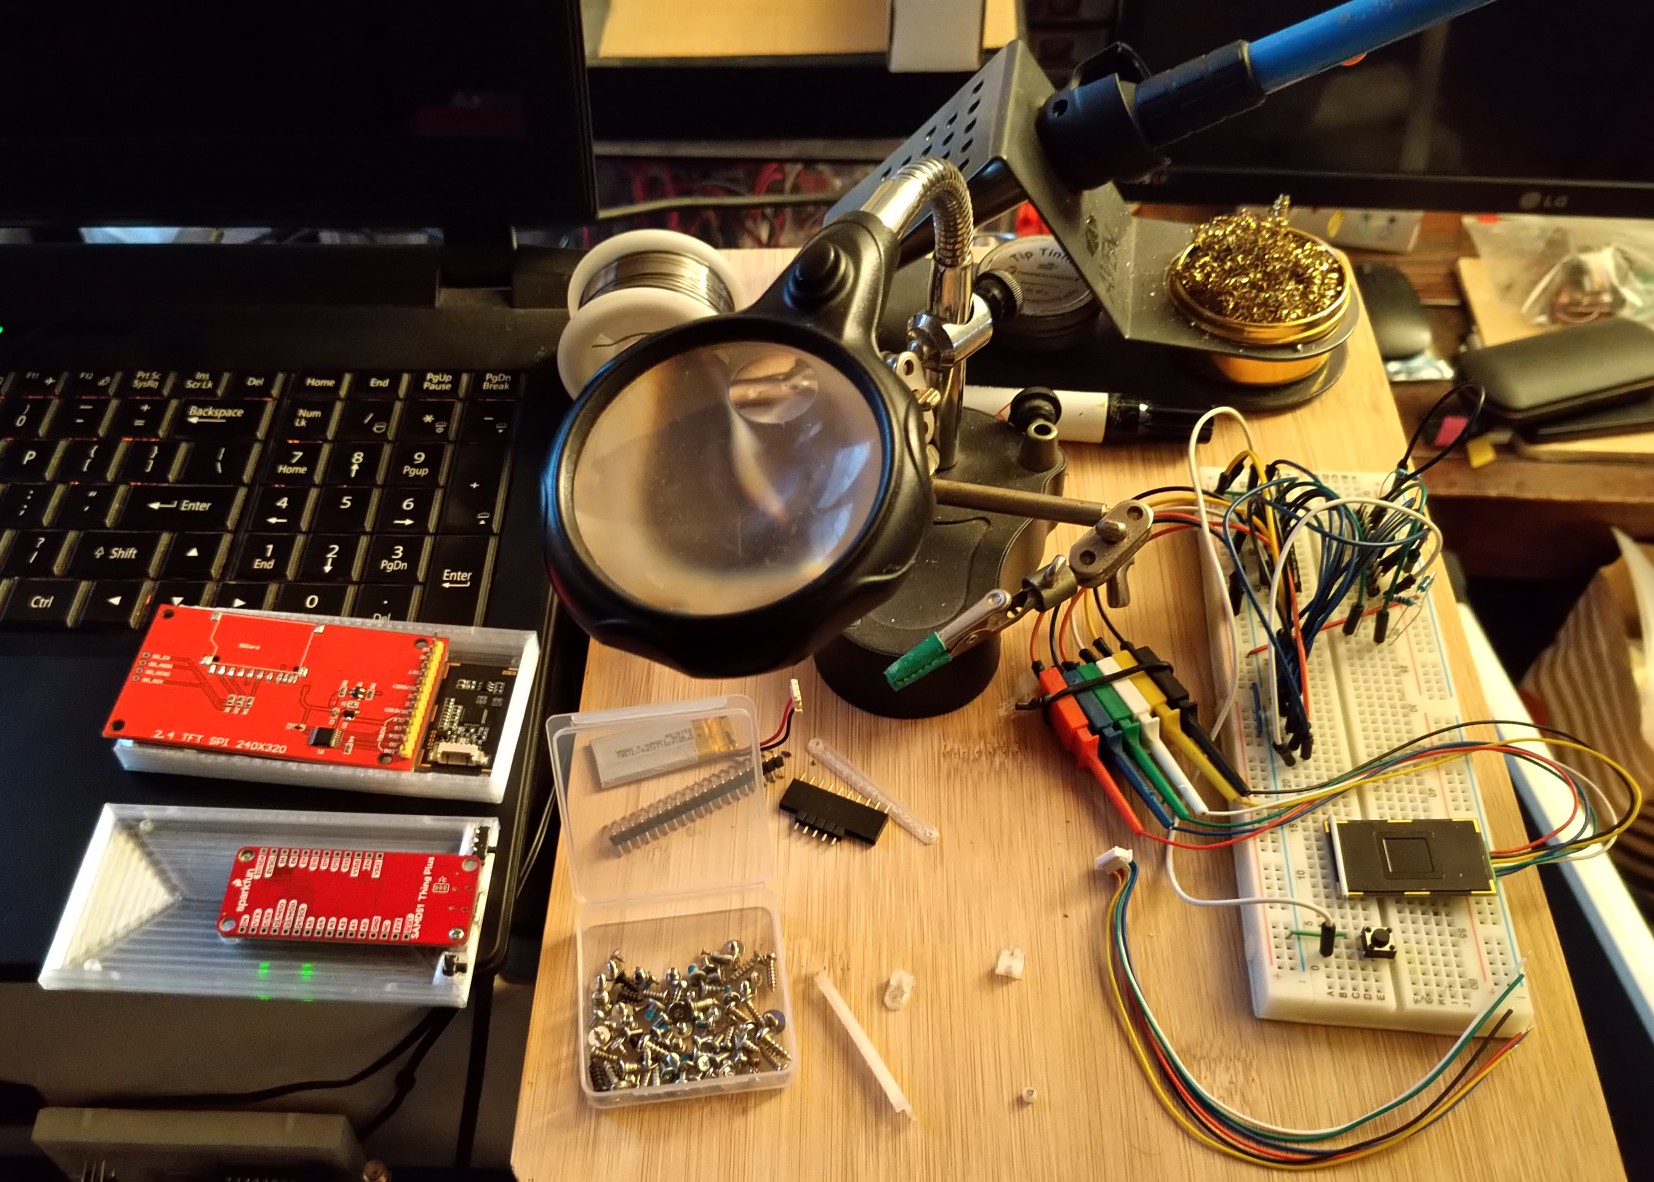
Moving all the parts from the prototyping board to their new home.

Slide
Venice inventors logo
parts fitting in case
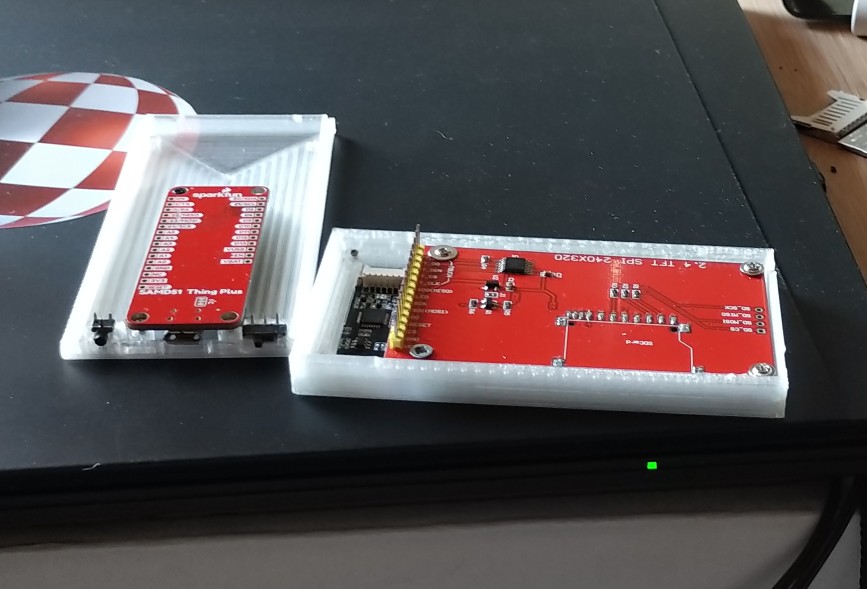
It Fits

Thanks to the careful measurements and 10 microns precision used in Blender, everything fits beautifully.

Slide
Venice inventors logo
prototype with wiring
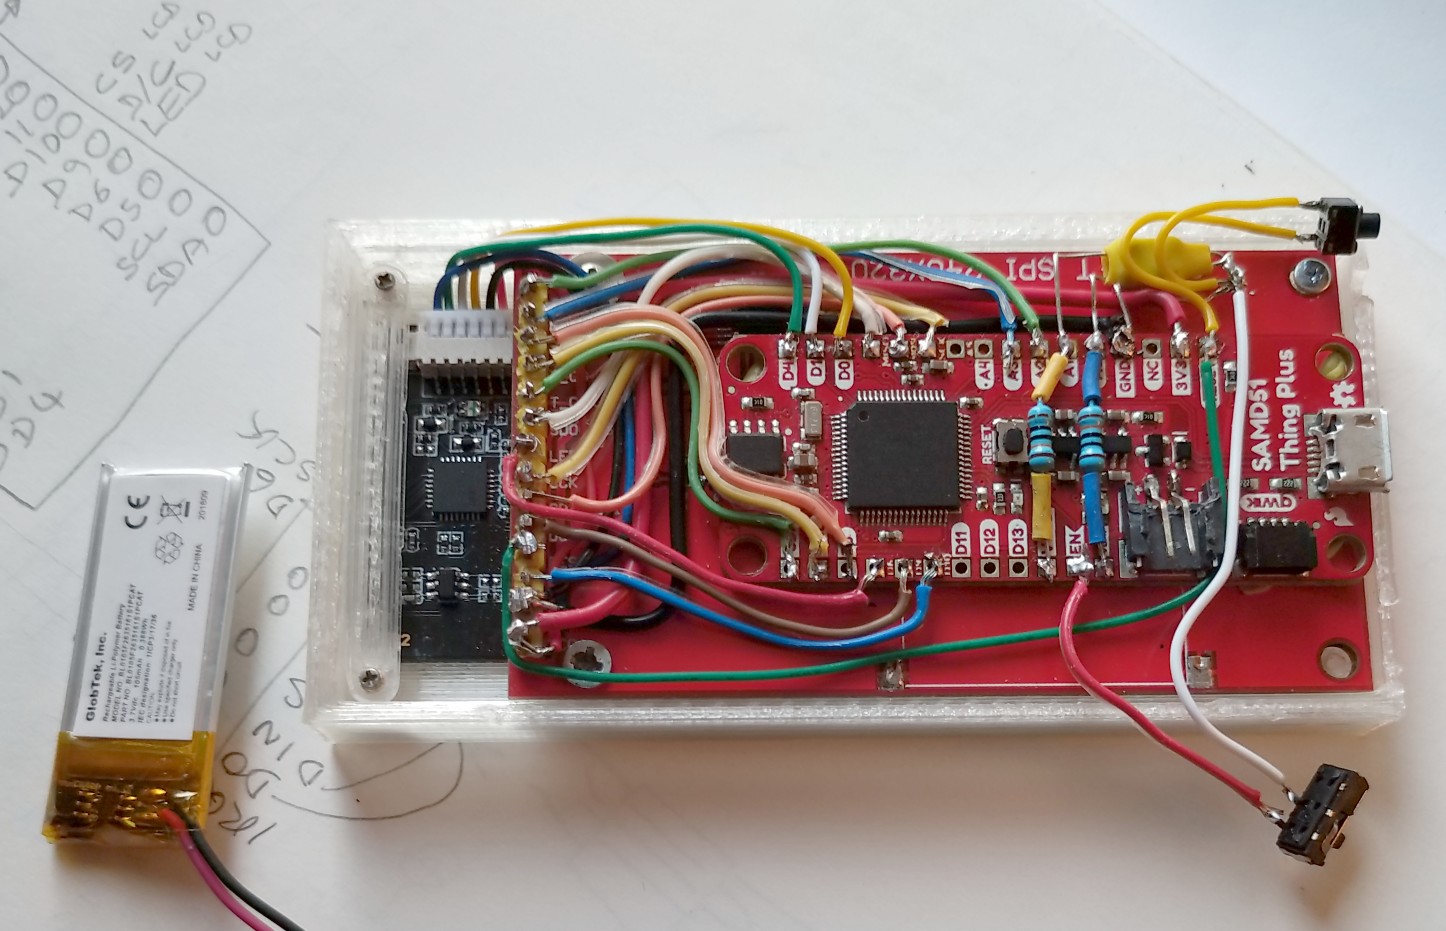
Lots of Wires

It took a lot more effort than anticipated to prepare, place and solder all the wiring. Everything had to be kept flat enough to fit within a few millimeters.

Slide
Venice inventors logo
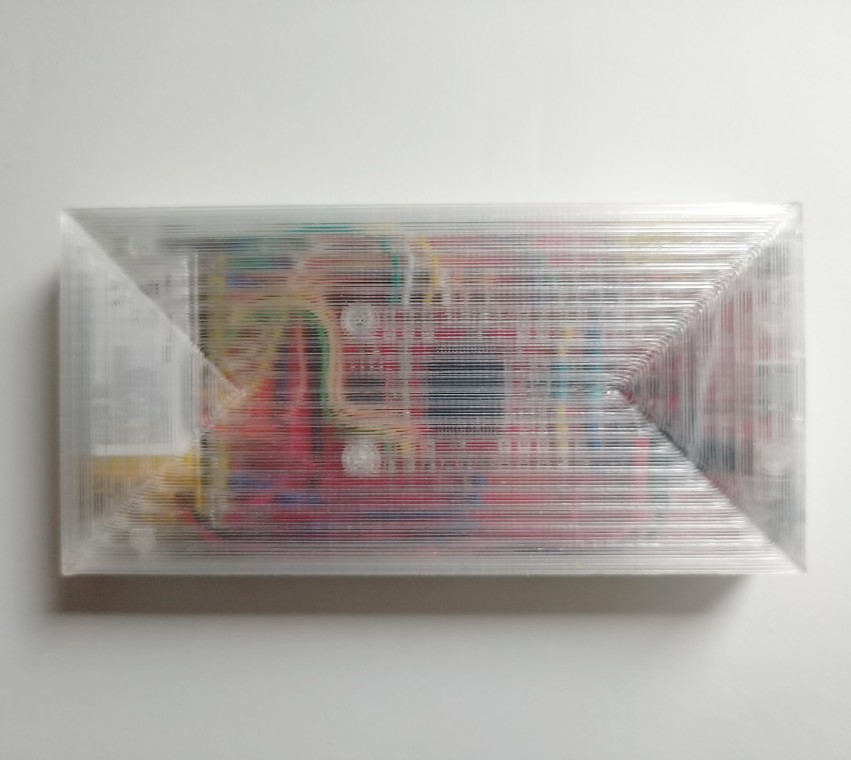
back of assembled case
Case Closed

Once the battery and switches were mounted and a few stubborn wires relocated, we finally closed the case.

Slide
Venice inventors logo
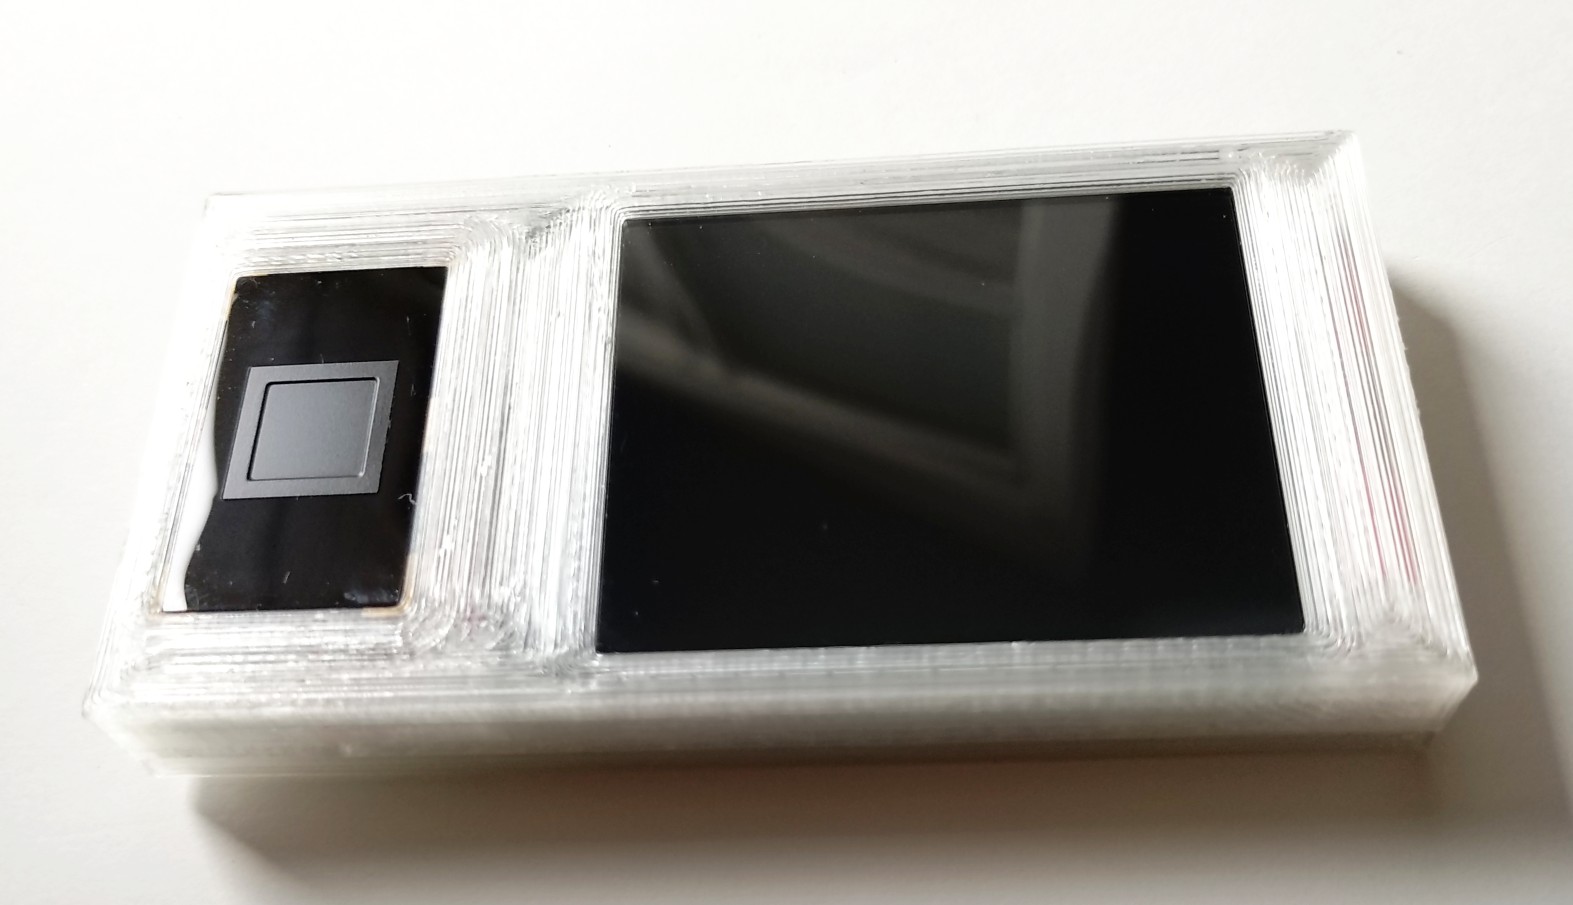
front of the assembled case
Case Closed

Or was it?

Slide
Venice inventors logo
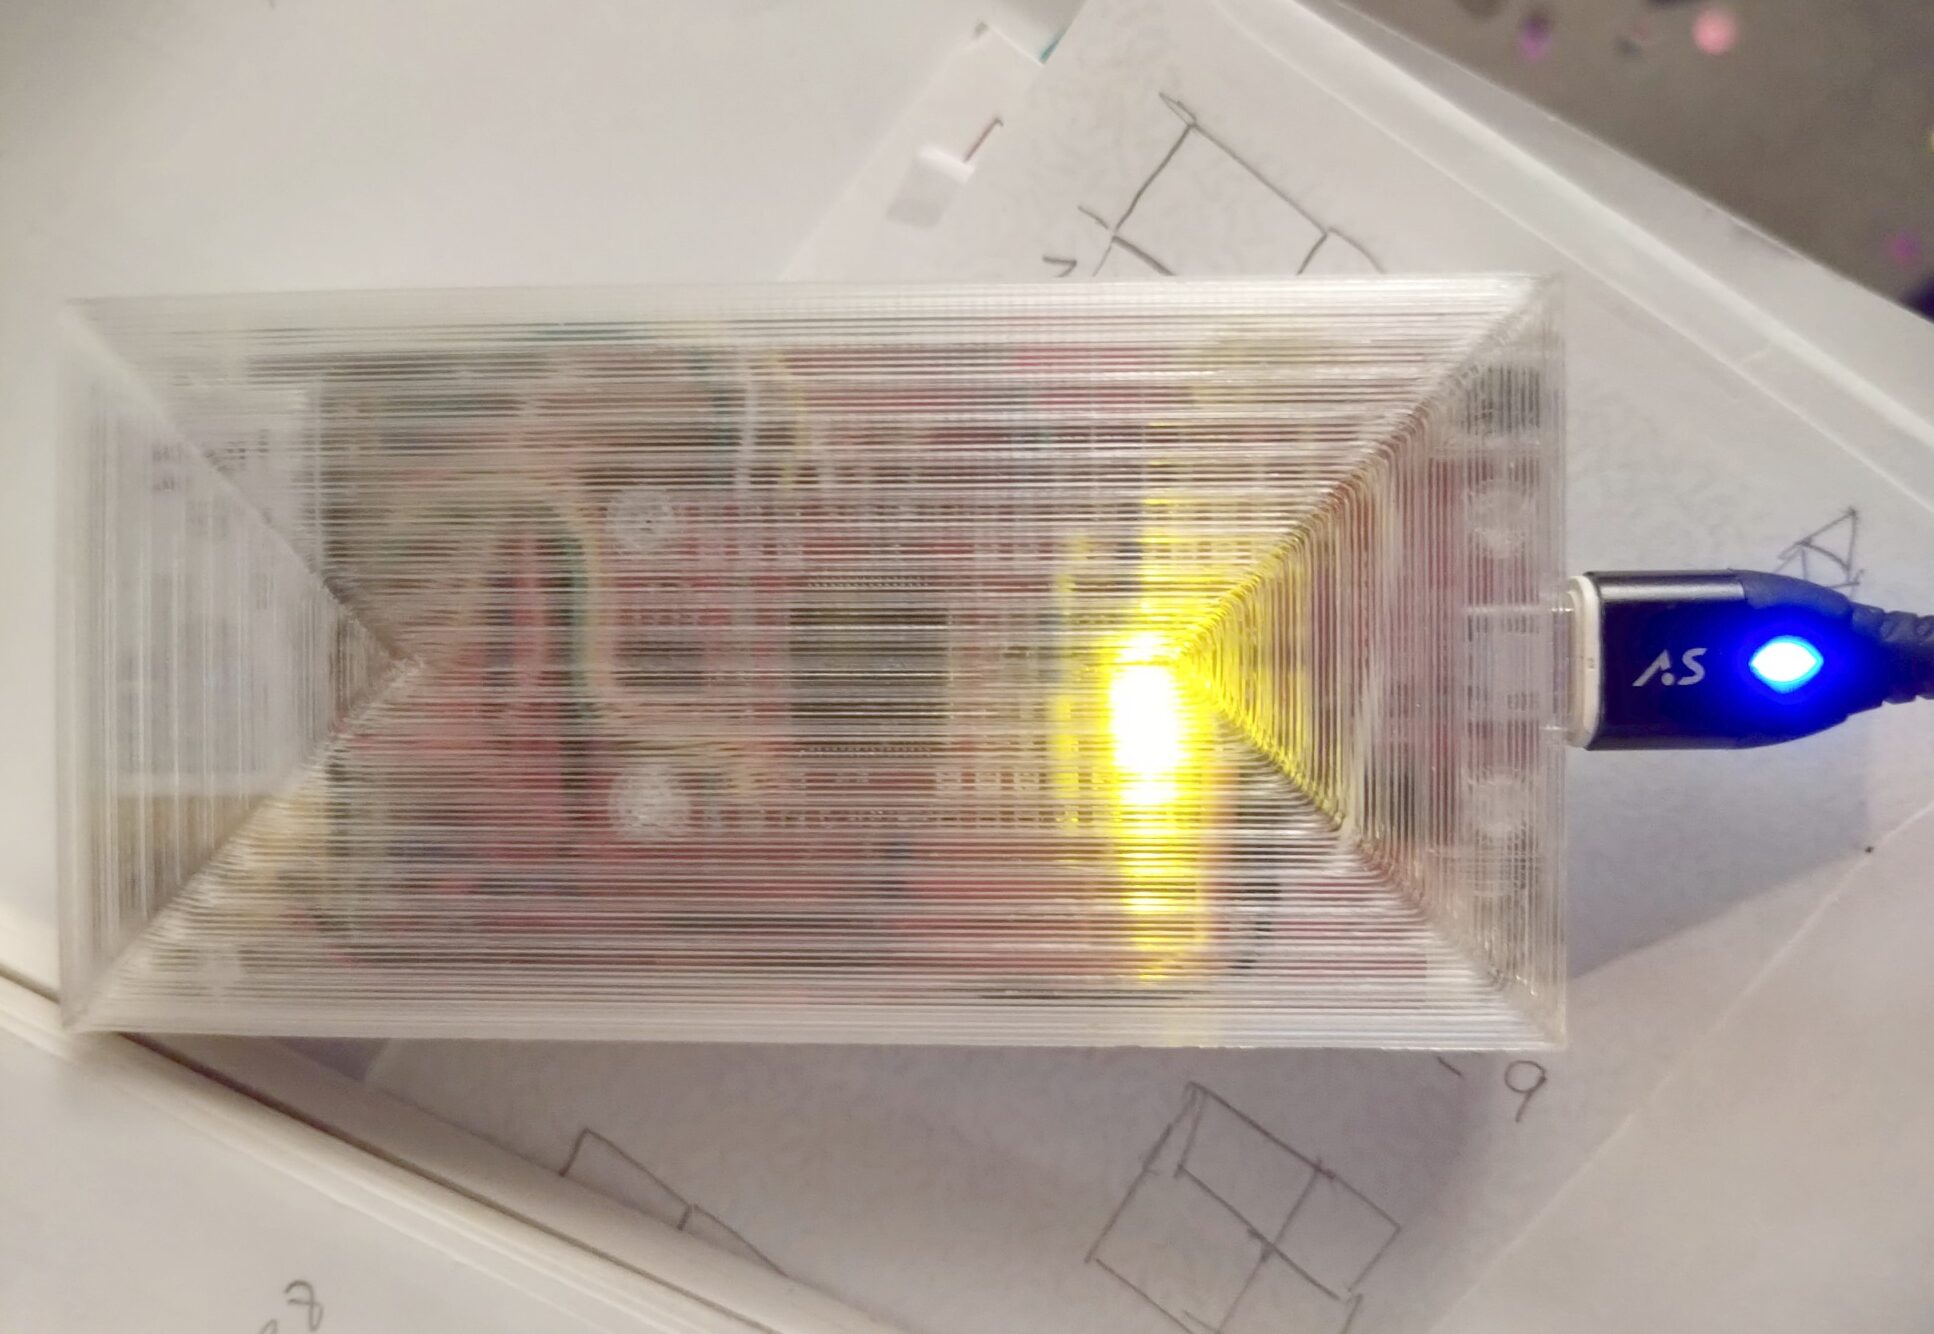
back of assembled prototype
First Power On Test

Suspense...

Slide
Venice inventors logo
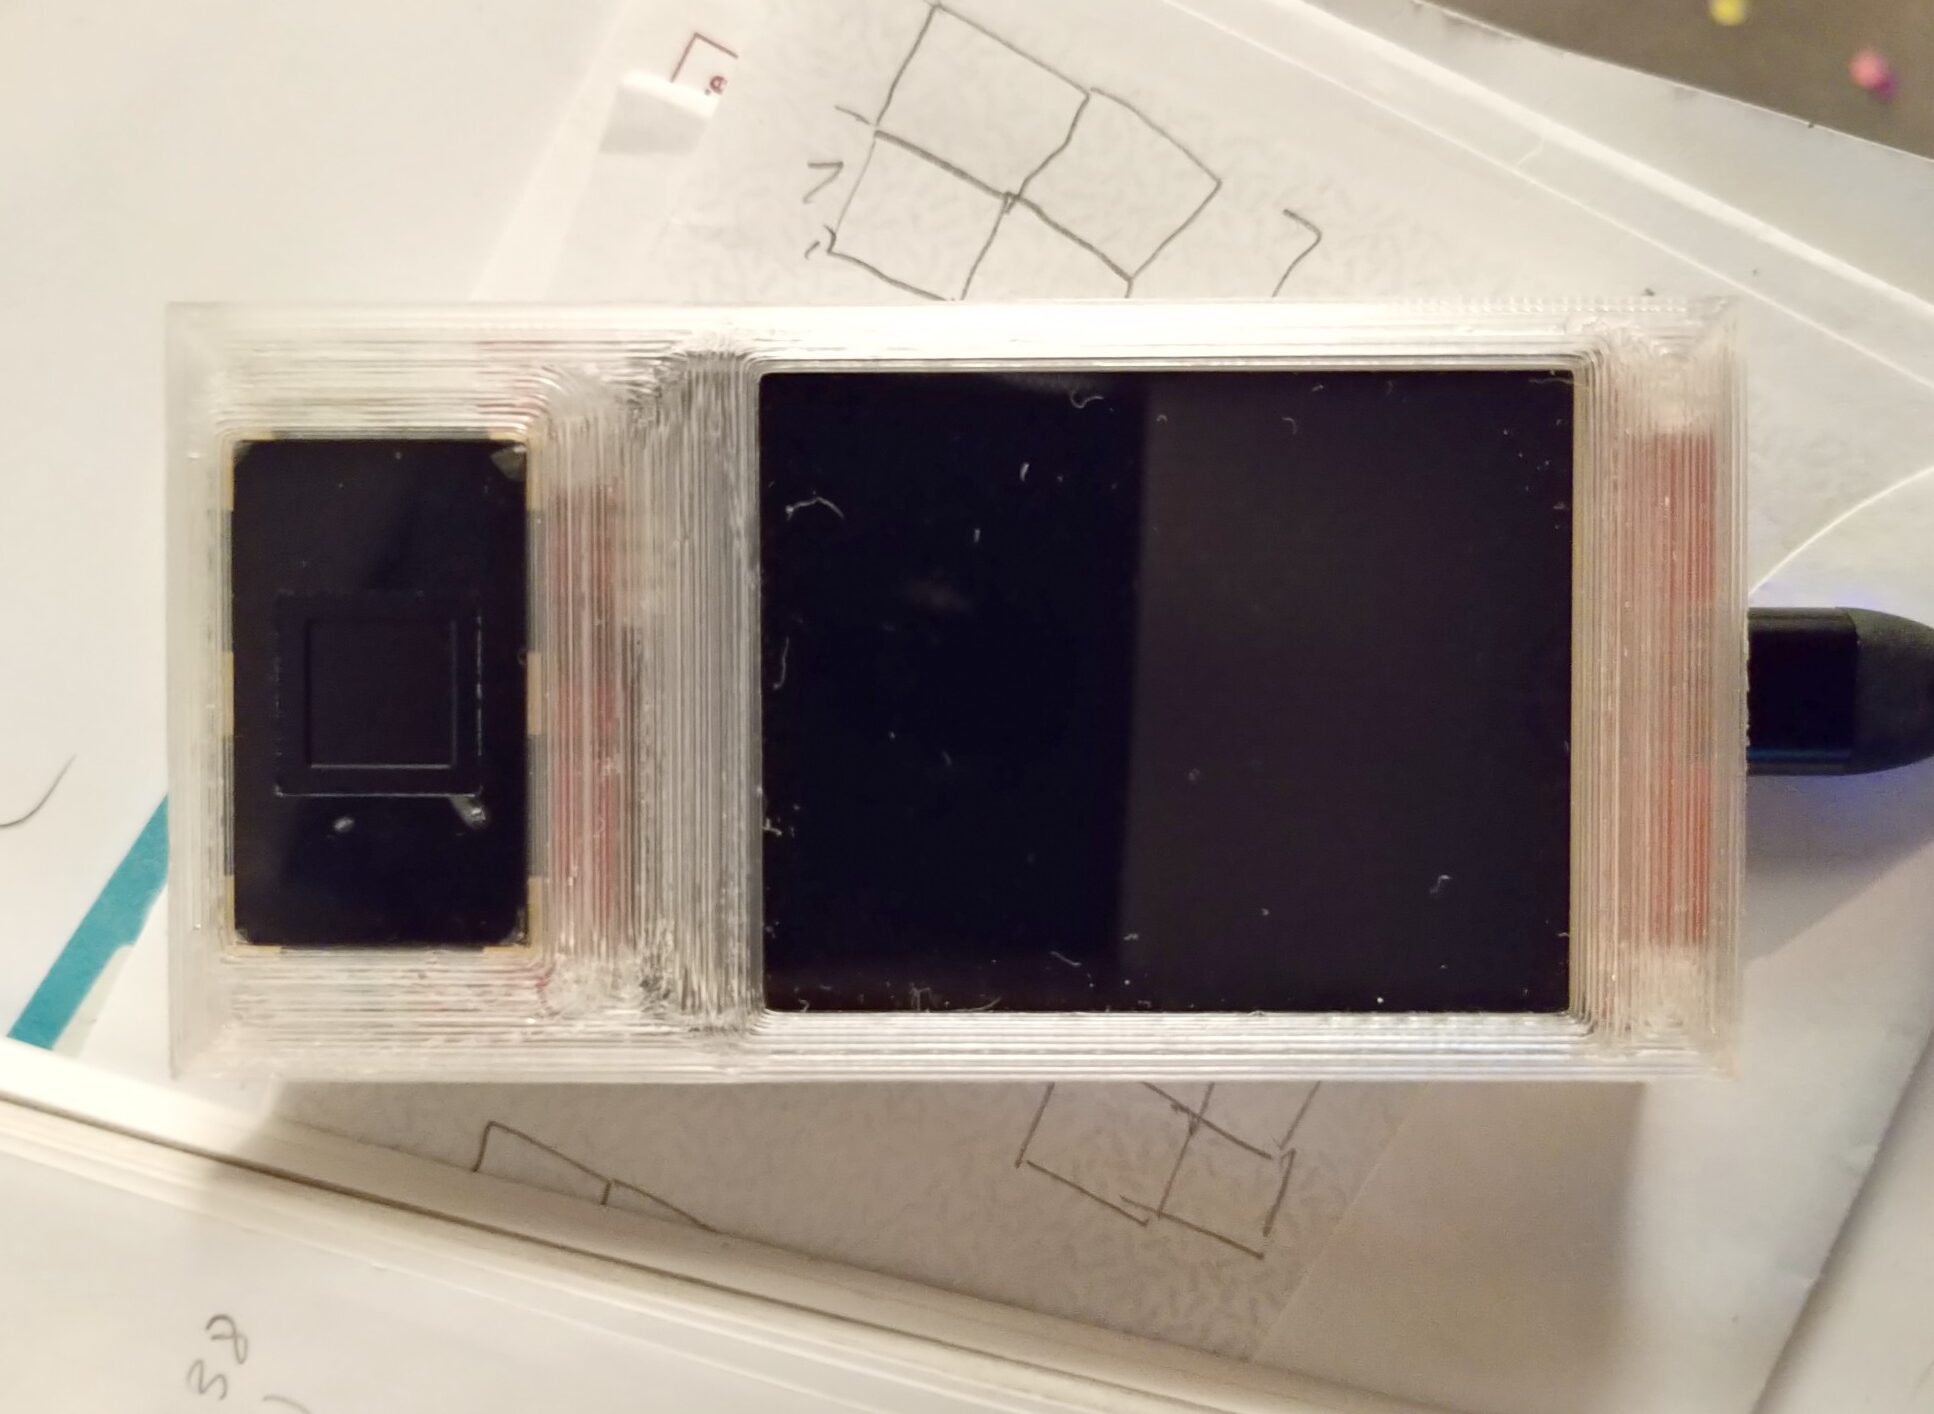
front of assembled prototype
Here Goes... Nothing!

Oh boy ð???
Did we overheat a chip while soldering? Maybe reversed some wire? Cold solder joint? Short?

Slide
Venice inventors logo
assembled prototype working
Silly Oversight

Only after resoldering some joints and triple-checking every wire in vain, did we notice the red error text on the computer which failed to upload the updated code for the new wiring layout :-/ Without the updated pin configuration the old code could not access the display. After selecting the right serial port (doh!) and uploading the updated code, everything was working.

Slide
Venice inventors logo
assembled prototype working
Done
previous arrow
next arrow